|
This project was inspired by the work of illustrator Daniel Mackie. His work features very detailed watercolor paintings of animals. Parts of the animals are very realistic, while other parts are painted using a combination of decorative patterns mixed with illustrations of the animal's habitat. Here's an example:  Notice how this lion's head, paws, and tail are very realistic. Inside the lion's body, we see clues about where he lives- an African grassland. We also notice some decorative elements like the pink and blue designs above the lion's paws. We can see similar designs in the mane and tail. I actually was able to purchase some prints from the official Daniel Mackie shop! They came all the way from the United Kingdom! My students loved having these artworks in their hands. They are still grasping the difference between an original work and a print, so this was a good opportunity to explain a little about how the commercial art world works, and the value of an original painting compared to a print. 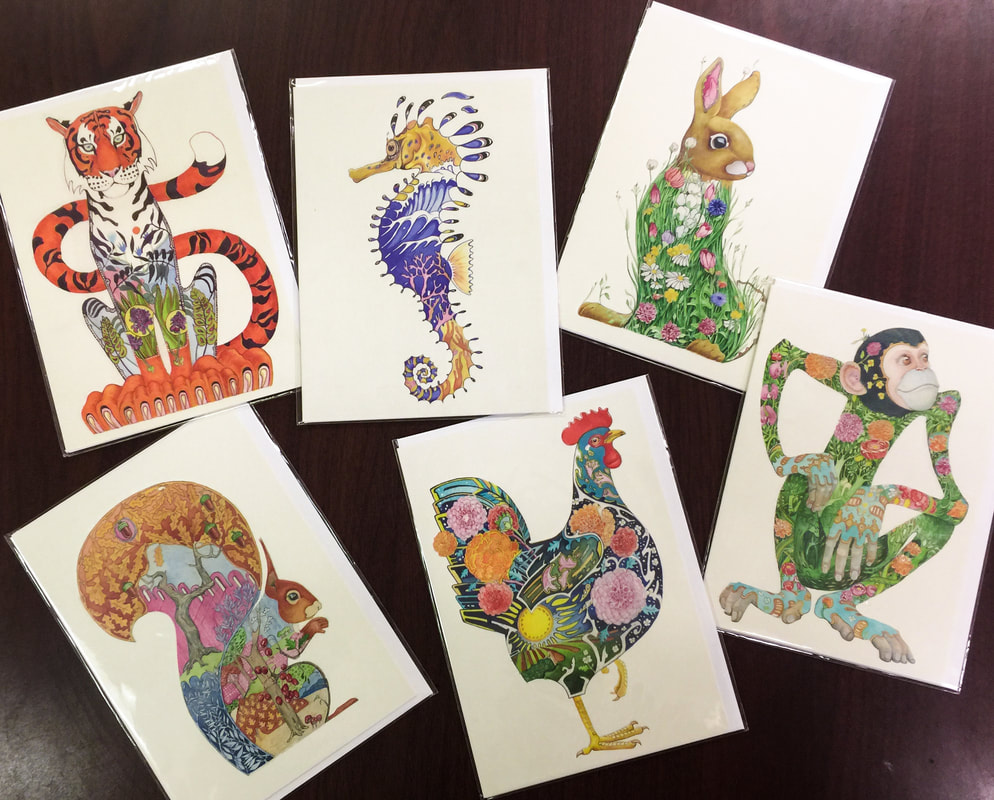  Click here to read a statement from Daniel Mackie describing some of his influences, his creative process, and how his style has changed through the years. My students also loved seeing the examples of his in-progress works! Here are some of the works my students created using Daniel Mackie's works as inspiration. They did use a pre-drawn outline, but all the interior designs are theirs. I think they did an incredible job!          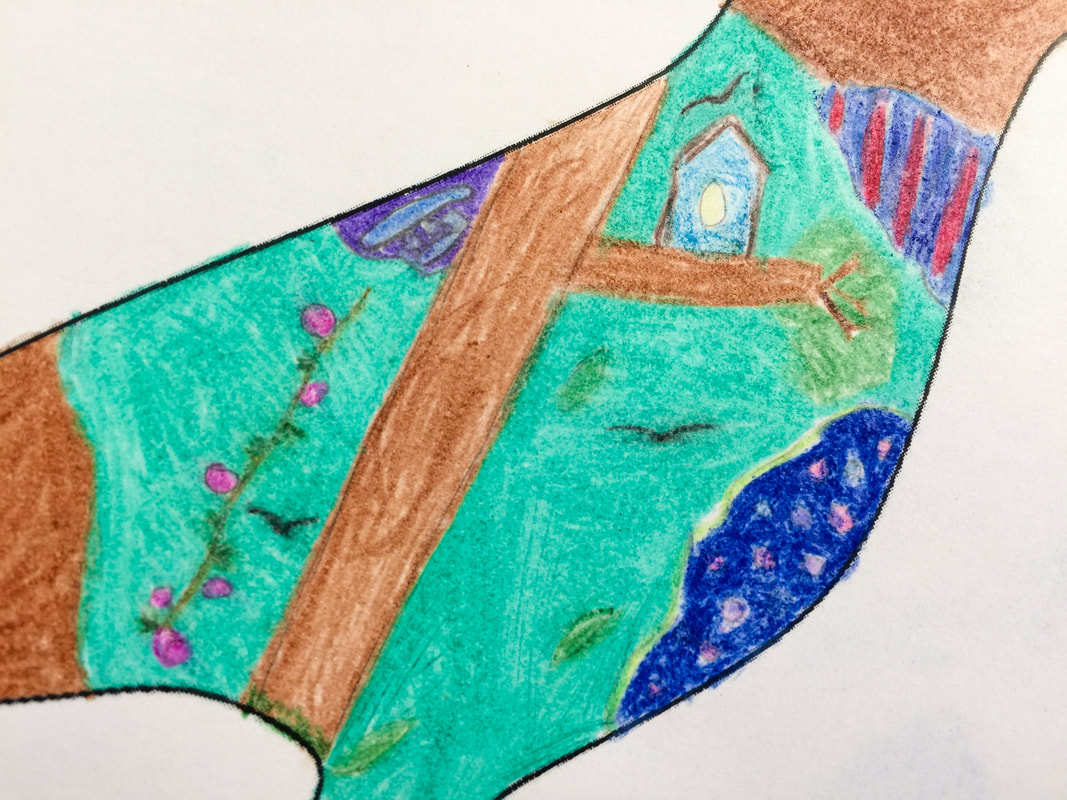          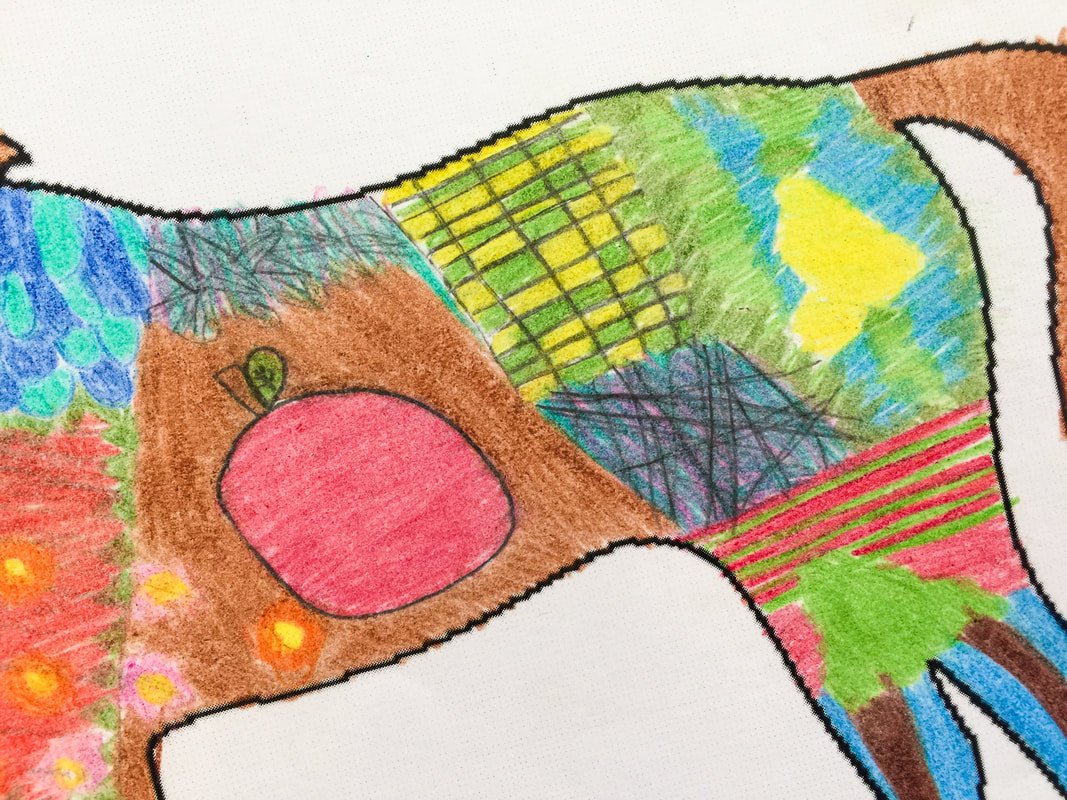   My kids were quite interested in Daniel Mackie, since he is a contemporary artist who is currently producing art. Many times, the master artists we look at are from many years past and sometimes students have a hard time connecting with their work. I love sharing contemporary art with my students in addition to the masters from the past. We decided to email Daniel Mackie to ask a few questions, and he was kind enough to respond!! Here is the email we wrote as a group: Dear Mr. Mackie, We are an Art Club in Spartanburg, South Carolina, in the United States. We are in the 4th grade, so most of us are 9 years old. We looked at your animal drawings and thought they were inspiring. So we decided to make some of our own! You can see our drawings on our teacher’s blog. We loved that they had the habitats inside them, since we study habitats in school. We loved how you put the information inside. We liked the patterns that you used. We had a few questions for you about how you make your art. If you have time to write us back, we would be excited to hear from you!
Thank you for inspiring us and giving us good ideas. We appreciate you and the time you put into making art for us to enjoy. Please let us know if you like our drawings! We worked very hard! Thank you, Ms. McGee’s Gifted Art Club Ava, Irina, Chloe, Kyndall, Graham, Titus, Echo, Addyson, Jacqueline, Sonya, Luke, Nelissa, Anacelia, Winston, Destiny, Vanessa, Kamiyah, Ruby, and Rachel. And here is the very kind response we received! I so appreciate Mr. Mackie taking time to write back to my kids and encourage them. They will remember this experience for a long time! Awesome Work! I like the T rex! I am doing one of those at the moment! So to answer your questions... Usually one painting takes about a week, some take longer, the ones with grass and flowers take ages. I use watercolour, so have to be very considerate when I start painting. The crucial thing is to get the drawing right first before I start painting. When I do start the painting the general rule is, start with light colours and put in the deep reds and dark colours right at the end. Most mistakes can be remedied, but sometimes the whole thing has to go in the bin. My favourite is usually the one I am working on. Would you mind if use a couple of your pic's on my blog and link to your blog? Hope that helps All the best Daniel
0 Comments
This was a quick one-day project I did to reinforce the concept of symbols. In their home classroom, students have learned about symbols in all different ways- road signs, symbols in math like plus signs, symbols that represent our country like the bald eagle, even symbols that stand for words- like in the language our Japanese buddies use! In this lesson, students recognized that a heart is a symbol for love. I showed them a picture of what our real hearts look like inside our bodies, and made sure they knew that our biological hearts are different from the heart shape we normally draw! That shape is used as a symbol to represent that we love something. Students drew or traced a heart and filled the shape with symbols representing things that they love- their families, favorite activities, special holidays, favorite foods, special places they visit... anything they could think of to represent themselves. We finished up by painting with tempera cake paints.          This was a really fun activity for third grade students! The goal of this lesson was for students to experiment with some unusual art-making materials and to notice the unique characteristics of each. We tried to focus on the changes that occurred with each type of material, since "Change" is the main concept of their current IB unit. I set up each table in the art room with a different type of material, or media- our vocabulary word for the day. Students rotated between the stations so that every student got to explore all the materials. For some stations I gave guidance on how to best use the materials, and for other stations it was all about exploration. By the end of the two-day activity, students had explored multiple new ways to make art! The last part of each rotation was for students to make notes about the characteristics of each material and reflect on the changes they observed. At the end of the class, we combined our observations into a group list.  Here are the materials we explored: Ice Paint- Liquid watercolor frozen in an ice-cube tray, with a wooden pick inside to make a handle.  Student observations:
Puffy paint: made with shaving cream, white liquid glue, and a bit of tempera paint.  Student observations:
Watercolor and salt: Coarse salt sprinkled over very-wet watercolor paint.  Student observations:
Baking soda and vinegar paint: I mixed a box of baking soda with several packets of powdered drink mix, and put the mixture in salt shakers. Students sprinkled a layer of powder on their papers and then dripped vinegar on top.  Student observations:
Bubble prints: A mixture of water, dish soap, and tempera paint. The students blew bubbles with a straw and then laid their paper on top of the bubbles to capture a print.   Student observations:
Oil pastel and watercolor resist: Students made marks with a white oil pastel, then painted over them with watercolor to make the lines appear.  Student observations:
Texture tools: Students drizzled paint onto their papers and moved it around with a variety of utensils to create varying textures. 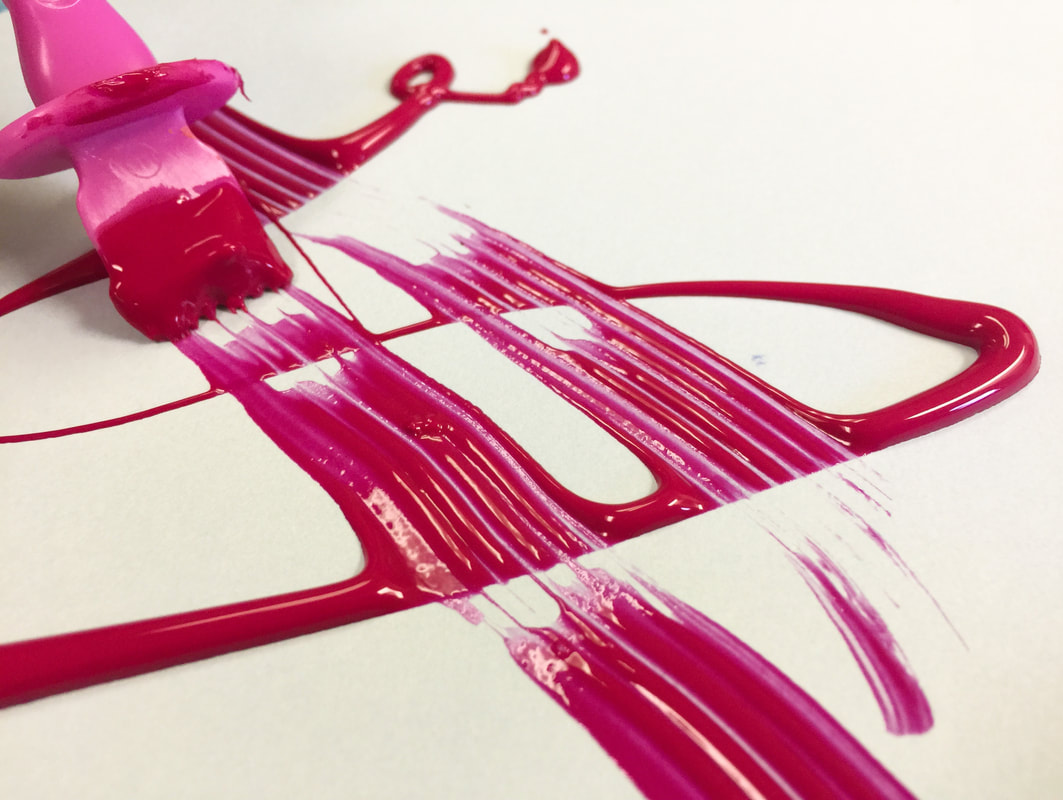 Student observations:
This was a really, really fun lesson, but a really, really messy one, too! It was definitely worth the mess. . . lots of good learning happened!   At the close of the lesson, I shared a few short videos with students. These videos all feature artists who really "think outside the box" as far as materials and techniques go! It was a fun way for students to visualize where this experimentation could eventually take them! This artist uses force and motion and gravity to use paint in a whole new way. This artwork is proof that you can make art out of ANYTHING. This is NOT a kind of art I ever want to try. Yuck!! These are the tiniest works of art you will ever see! This video was the kids' favorite. They begged me to let them try it someday. We might be able to do it on a smaller scale- we will see!  Our first grade students are preparing for their upcoming Fine Arts Night, which will feature a musical production called "American Symbols on Parade" in addition to their Art Show. Their musical will present songs about the bald eagle, Statue of Liberty, and our Flag, along with other special symbols of our country. To go along with the theme, students created a painting of a rose- our national flower! I led each student through a guided drawing to show them each step of drawing the rose. They did an incredible job following along! I love to see that each rose drawing is still individual and unique, even though they followed the same instructions.    After the pencil drawings were complete, the next step was to trace the lines with permanent marker.   Next I asked the kids to try some basic shading with colored pencils. We talked about how the petals would be darker in the spots where the light doesn't reach. This shading was really challenging for first grade kids, but I think it made a big difference in making these roses look realistic. Some students really had a good grasp of the concept!    Then students painted their roses with liquid watercolor paint.    To create the background, students made their own leaf stamp out of styrofoam. They used this stamp to fill their paper with overlapping leaves.    The final step was to cut out some leaf shapes and add details to make the leaves look real. Then we assembled all the parts of the rose into a finished artwork!  Students explored a lot of skills through this rose project:
All of these skills worked together to create these incredible flowers! I know they will be a success at our Art Show, and I can't wait to see them on display! 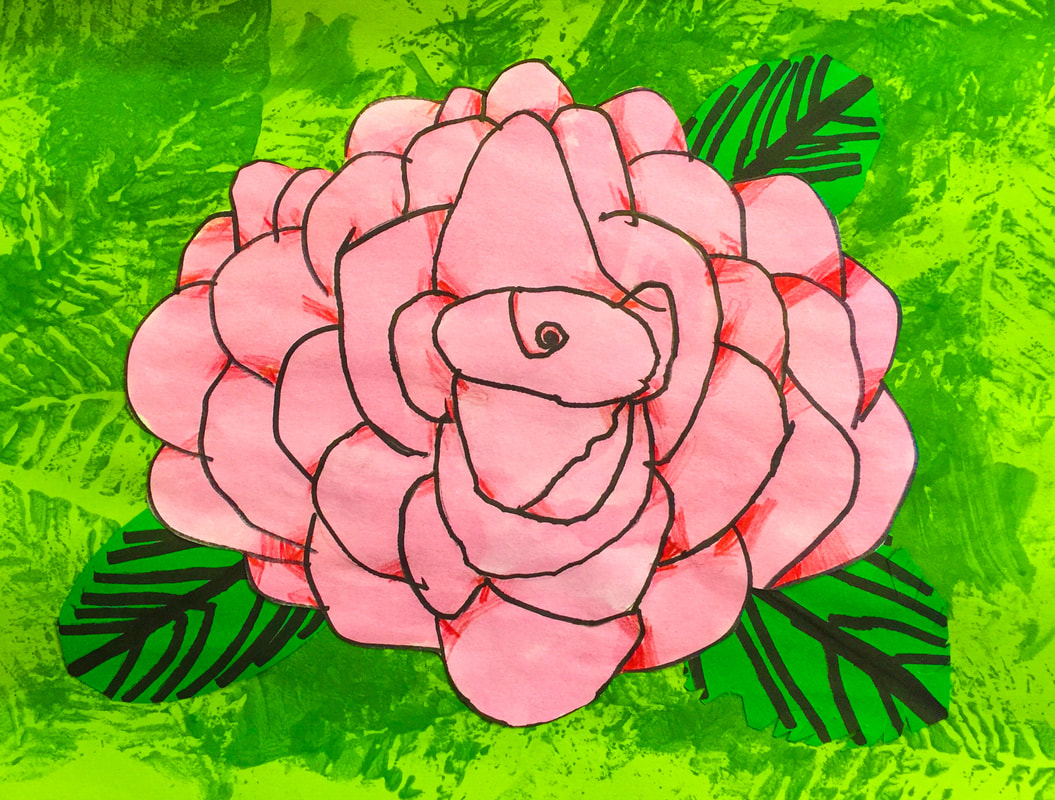   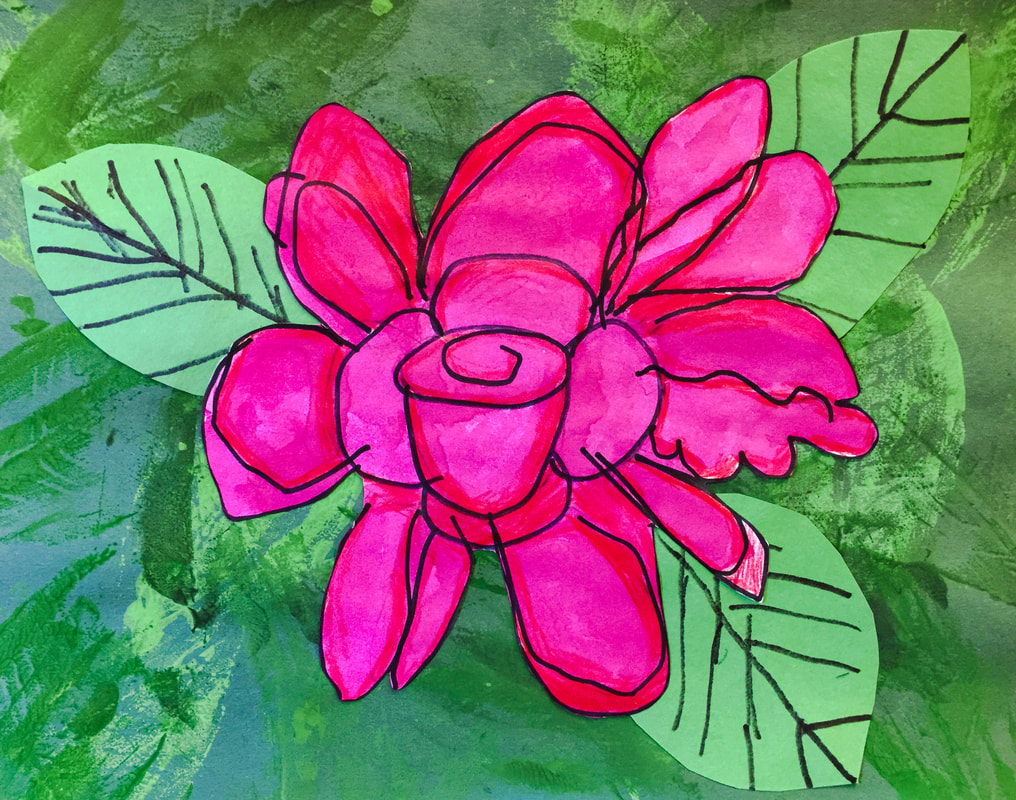            My goal for this activity was to show kindergartners how Art can be a way to communicate. Students have been learning about communication in many forms- writing, speaking, singing, even through picture symbols. In this lesson, they experienced art-making to communicate feelings. We looked at several examples of art that portrayed a clear mood. This led to lots of good discussion- we looked at this painting, Picasso's The Old Guitarist, and they immediately said "he's sad!" When I asked them HOW they knew he was sad, they had great answers. Students explained that his head was hanging down, he looks tired, and his clothes are ragged and dirty. It took a little guiding to get them to realize the significance of the color blue, and that it was a symbol for sadness.  This talk of colors led us into the next discussion. We looked at this painting with the bold red slashes, and discussed how red is often a symbol for anger. I told them that sometimes when we're really mad, we even say "I'm seeing red!!" 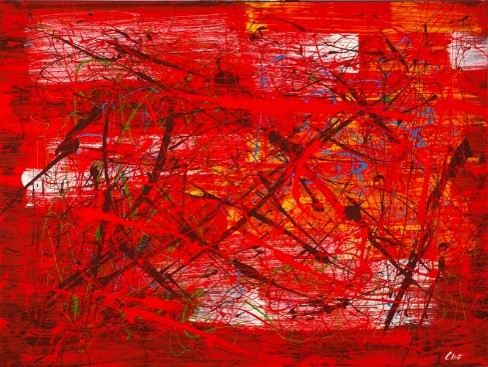 I had each student pretend to hold an imaginary paintbrush and slash their arm through the air like they were making the marks in this painting. I asked them to think about a time they were really mad, and let that energy come out in the movements they were making. Then we looked at some paintings with bright happy colors. One student commented that when you're feeling happy, you might want to jump up and down, and it looked like the shapes in this painting were bouncing and jumping! What a great observation!  We also looked at dark, scary, paintings:  And lonely, empty, artworks:  And artworks that were almost vibrating with excitement!  Then it was time for students to make some expressive marks of their own. I played several selections of music, each with a different emotion- happy, sad, angry, scared, excited, calm, and proud. Each student interpreted that emotion through the marks that they made. Here's a short video demonstrating some of their interpretations! The second day's activity was an extension of learning from the first day. This time instead of focusing specifically on expressing emotion, students painted to music and responded to it. Their goal was to represent the sounds they were hearing with lines on their paper. I told them to picture their paintbrush dancing to the music! Here is the second short video. I was pleased with how thoughtful the students' marks were, and they LOVED painting this way! For a fun end to our lesson, I shared the video below with students. It's a good example of making marks in response to sounds. Each unique sound is represented by an individual line that reflects the changes in pitch and tempo. We talked about how each line was like a symbol for the sound it represented. Third Grade celebrated fall colors this week! We did an inquiry-based color mixing activity. I asked them to closely study a fall leaf, notice the wide variety of colors, and recreate as many as possible by mixing and blending basic colors of paint. Students were to be inquirers and find the answers to these questions:  Rather than give instructions on how to make the colors, I wanted students to figure it out for themselves through experimentation. I wanted them to notice the effects of adding new colors- for example, what change would adding brown cause? What about adding brown and green together? What if I added peach or yellow next? Students were very successful in matching the colors. I was pleased with their enthusiasm and perseverance! We worked on this for the full hour, and they still weren't ready to clean up when our time was over!         Some students had time to think of creative names for their color creations. They had some really fun ideas!    We had a special guest on Friday! Our principal, Mrs. Humphries, was able to come in and paint with us for a while!  She is a pretty talented color-namer!  In their current IB unit, second graders have been learning about how authors express themselves through their writing. In Art, we explored how making art is also a way for people to share their thoughts and feelings! I asked students to think of a memory that was tied to a strong emotion. They made oil pastel drawings illustrating that memory. The drawings didn't have to really be a scene showing the event- instead, they could mix up the objects they drew and make it look kind of dream-like, like when a memory is kind of hazy or confused. I told them it was kind of like taking apart a jigsaw puzzle- all the pieces are still there, but they are not arranged in a way that makes sense.  The next step was to include the emotion of their memory. We looked at some paintings that communicated feelings, and discussed how the colors and the energy behind the brushstrokes described the emotion. For example, look at this painting and imagine how the artist's arm would have moved when making these scribbling lines- you can almost feel the anger!  Now compare that painting to this calm, dull, sad one- it's a completely different feeling!  And this painting has a happy, joyful, excited feeling- it's almost like the colors and shapes are dancing!  Students took what they learned about expressing emotion and applied it to the backgrounds of their memory paintings. The colors they chose and the brushstrokes they used all work together to communicate the mood of the memory. Look for lots of blues in the sad memories, reds in the angry ones, and yellows and pinks in the happy memories!  "I was at an orca show. There were orcas there. There were trainers helping the orcas do tricks. It was exciting. Then there were orcas in a small pool. I loved to see the orcas."  "Today was my cousin’s birthday! My cousin is turning eleven! My cousins live in North Carolina. Thousands of people were there. All of us jumped on the trampoline! Then I almost fell off the trampoline! We came back inside. While we were inside we watched Fuller House. After that it was time for cake! I waited until it was present time. But we spent the night with them. She opened the presents in the morning and she loved mine!!! But then it was time to go! I cried all day! I was so mad and sad I had to go! "  "Today I had to clean my room. It was cold outside today. I had to clean my room by myself. I was very mad and kind of sad because I didn’t want to. My room was very dirty. "  "I had dance and we ate cupcakes. We danced and danced. It was fun and I was happy. My friend Emma was there too. "  "I was with my daddy and mommy and grandma and my papa and Graham and Anna and Uncle Tim and Aunt Leslie. We went to the beach. It was so much fun. It was on the Fourth of July. It was fun watching the fireworks. We were outside. It was so hot. I was yelling because it was too hot for my feet. It was really sunny. I loved it outside. It was so beautiful. We were happy. It was a fun time. "  "My uncle and my dad and my mom were with me. We were watching a great movie It was good. But we saw a red and blue light outside. The weather was cold. It was night. It was scary. And my mom was scared too. The police were in my neighbor’s yard because they always have a party. The police went past my house. They went to my other neighbor’s house. We had to turn off the TV and the lights. And I couldn’t find my dad. He was hiding. It was scary. And my cat was walking outside all night. "  "It was fun at the beach. We got to eat. On the last day we went to the water park. I went on the slide. I got seashells and then we went home. " 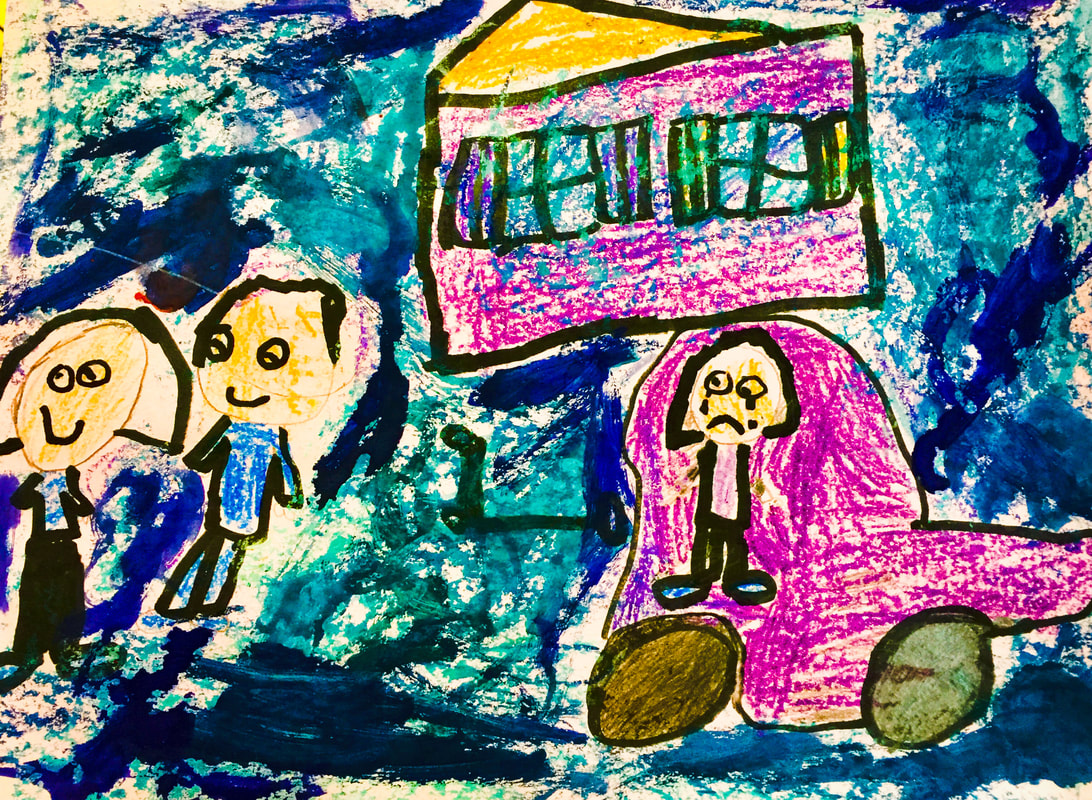 "My mom, Gigi, Papa, and sister were with me. I fell off my scooter. It was the afternoon. It was hot out. I was feeling sad and hurt. "  "Today I am so delighted because I am going to the movies! I went with my mom, my sisters, my brother, and my dad. We are going to see the Star Wars movie! They have popcorn and soda. It was so much fun. When I got home I went right to bed. "  "This is my mom. She got pulled over and I was scared. The cop came and he was smiling. He came and asked my mom for license and registration. He said please though. My mom was scared because she couldn’t find it and I got scared too. "  "I remember when I went to the dinosaur zoo. I felt unsure if it was safe or not. I was with my mom and dad and Anna. I was nervous about if it was safe! It was exciting. "  "This story is about my mom and my stepdad and my grandma and the police and the old lady and her two kids. My mom was backing out of the driveway and looked left and right and the old lady came! We couldn’t see her so we got hit. It was in the morning. It was outside in the front yard. My mom was mad and I was crying and that old lady was mad too. But no one got hurt. "  "In New Jersey I met Jake Paul and Messi. We played soccer in New Jersey and I played basketball. We went to New Jersey for my birthday. It was a pretty place and we wanted to travel. I went with just my mom. "
Our school has an event coming up that we call our "Hendrix Family Fiesta". Part of being an IB school means celebrating all the cultures that make up our school family. This event will honor the traditions and celebrations of Mexico! While researching traditional art techniques of Mexico, I learned a LOT! I wish we had longer than one class period to explore Mexican art and craft together, but we only had one hour. Though Mexico has a very rich history in the arts, I decided to focus our learning on something our students would be familiar with - the technique of papel picado, or "punched paper". This craft originated in the Mexican state of Puebla, in the town of Huixcolotla, and spread to other parts of the country.   The traditional technique involves a skilled craftsman using a variety of chisels and a hammer to punch through many sheets of paper at once. The design can take hours to create, and templates are made so that a design can be repeated. The subject matter of the designs often features the beauty of nature- like flowers, birds, or fruits, but can really be any design. The technique is a tradition usually passed down from parent to child. These images are of papel picado craftsmen using the traditional method.   We watched a small portion of this video to get a better idea of how the process works. We started watching at about the 1:34 time. I learned from my research that different colors of papel picado are used for different types of celebrations. Pinks, oranges, and purples are often used to celebrate Dia de los Muertos, while different shades of purple are used at Easter. The colors of the Mexican flag are used to celebrate Mexico's Independence Day, and rainbow colors are used for the Christmas season as well as non-religious events. Our version of the papel picado technique is very simple, but still beautiful! Students folded colored paper using a pleating fold, then used scissors to cut out simple shapes. When opened, the papel picado looks like delicate lace! We used masking tape to connect the pieces together.          I think our students really enjoyed getting to experience this traditional art-making technique. I hope it helped students to respect and honor traditions of the past. I am looking forward to celebrating more at our Fiesta later this week!  This project is one I keep coming back to year after year. It is so much fun for the kids, yet it has them practicing so many skills! I like to time this project with kindergarten's study of patterns, which they just finished up last week. We talk about the rainbow as a type of pattern- the colors repeat in the same order every time. Students begin their paintings with a squiggle line going all the way across their papers. Next, they'll make a matching squiggle line using the next color in the spectrum. These lines will repeat until the entire paper is filled with rainbow squiggles!  The main learning objective of this project is for students to learn the correct order of the colors in the rainbow. I introduce the concept of the color wheel, and explain that it's like a round rainbow. This understanding will be important as students are later introduced to the science of color and how primary and secondary colors work. In making these paintings, students are also learning how to successfully handle a paintbrush. Their goal is to place lines of color next to one another- very close, but not touching! Painting with that amount of control takes a lot of small-muscle movements in the hand, and is a great exercise for developing fine motor skills. Students also learned important painting routines, like remembering to wash their brush before switching colors and treating the brush gently instead of scrubbing it across the paper!     It was so interesting to see some students begin their paintings with a color other than red. Though red is typically the color you start with when naming the colors in order, I explain to the students that when looking at the colors in color-wheel form, it's a never-ending repeating pattern. Once you get to the last color, you are right back where you started and can just keep going! This means that no matter what color you start with, the colors before and after will always be the same. Seeing students take these different approaches is evidence that they are truly understanding the learning, instead of just copying from an example!     |
Archives
March 2018
Categories
All
|
 RSS Feed
