|
This map-making project concludes second grade's art lessons for the year. This project fits with the map skills unit students have just completed in social studies. In Art, students learned about cartography- the art of making maps! I started the lesson by showing this 2-minute clip from the Wizard of Oz. It's the scene where Dorothy sees Oz for the very first time. I asked students to imagine that like Dorothy, they were experiencing a new land for the first time. What kind of land would it be? How would things look different? We used these imaginative maps as our inspiration...    (Map images are from the Etsy shop PaintandInk.) My kids were SOO excited to begin this project!! Normally this close to summer, students get a little wild and hard to manage, but these second-graders were the most focused I have seen them all year! They LOVED this project! The requirements for the maps were that they had to show both land and water, have a title, and have a legend/key and a compass rose. Anything else was up to them! I wish I'd started this project a little sooner- we didn't have time to finish. I let students take their maps home with them to complete since we ran out of time. Next year I'll start this project a couple of weeks sooner! Here are some of the in-progress map drawings.     
0 Comments
This was actually one of the first projects I did with Art Club back in the fall, but I never posted about it on this blog. They learned so much from this project, and it's definitely one I'll do again!  The objective behind this lesson was to introduce my kids to the grid drawing method. This technique is one students wouldn't typically experience until middle school, but this group of artists was ready for it. The grid method is simply a way to enlarge shapes into a bigger version while using grid lines as a point of reference. Each student had a small card that had been gridded into 1" squares, and they arranged a selection of candy on the card. They drew the candy onto a much larger piece of paper that had similar gridded markings. By making the larger squares match the smaller squares, the students created an enlarged version of their candy still life. This method was a completely new technique for my students, so we started with these worksheets to help them grasp the concept of taking one square at a time, enlarging it, and making it match up with the next square.   Applying these skills to a real-life drawing was a very challenging task! I am so incredibly proud of how their drawings turned out. This experience really helped my kids learn to "see" like artists, and learn how to visually analyze a still life and recreate it accurately. This task really helped prepare them for the drawing challenges they would see later in the year!   Here are a few of the finished drawings. Remember, these are from the beginning of the school year. I wish we had time to do this project again now- it would be a great way to show their growth as artists. I know they could do even more amazing work now!       It's become a tradition for each year's Art Club to create a book. This year our book is titled Brown Crayon, Brown Crayon, What Will You Make? It's written and illustrated in the style of the classic Brown Bear, Brown, Bear, What Do You See? The text is written in a similar pattern as the original, and the illustrations are created using a similar method- by painting textured papers and then collaging them into a scene.  Our inspiration, and our own version! Each art club member chose a crayon color, and planned and created the illustration. I helped some with the text, since it was tricky to get the right rhyming pattern and the correct number of syllables. The book is the result of about six weeks of hard work! A hardcover copy is now in our school library. We finished the book around the middle of the year, but didn't make this video until recently. I know you'll enjoy it! (the video may need to load completely before it will play.) Brown Crayon, Brown Crayon is the third in our series of Art Club books. It joins Goodnight Art Room (inspired by Margaret Wise Brown's Goodnight Moon) and If You Give An Artist a Pencil (based on If You Give a Mouse a Cookie by Laura Numeroff).   I wanted to share the beautiful butterflies kindergartners have just finished! This is our last project for the year, and it supports K5's current science unit on life cycles and how animals grow and change in different ways. The kids have already learned about the butterfly's life cycle with their classroom teachers, so we started by looking at some examples of butterfly wing patterns and coloring. We talked about what symmetry means and examined how a butterfly's wings are exactly the same on both sides.  To create their own butterflies, students started by tracing half of a butterfly shape on one side of their papers. If our time hadn't been so short, I would have had students draw their own wings, but I needed the lesson to fit in the two weeks I had left with kids and tracing the beginning step is an easy way to make that happen. 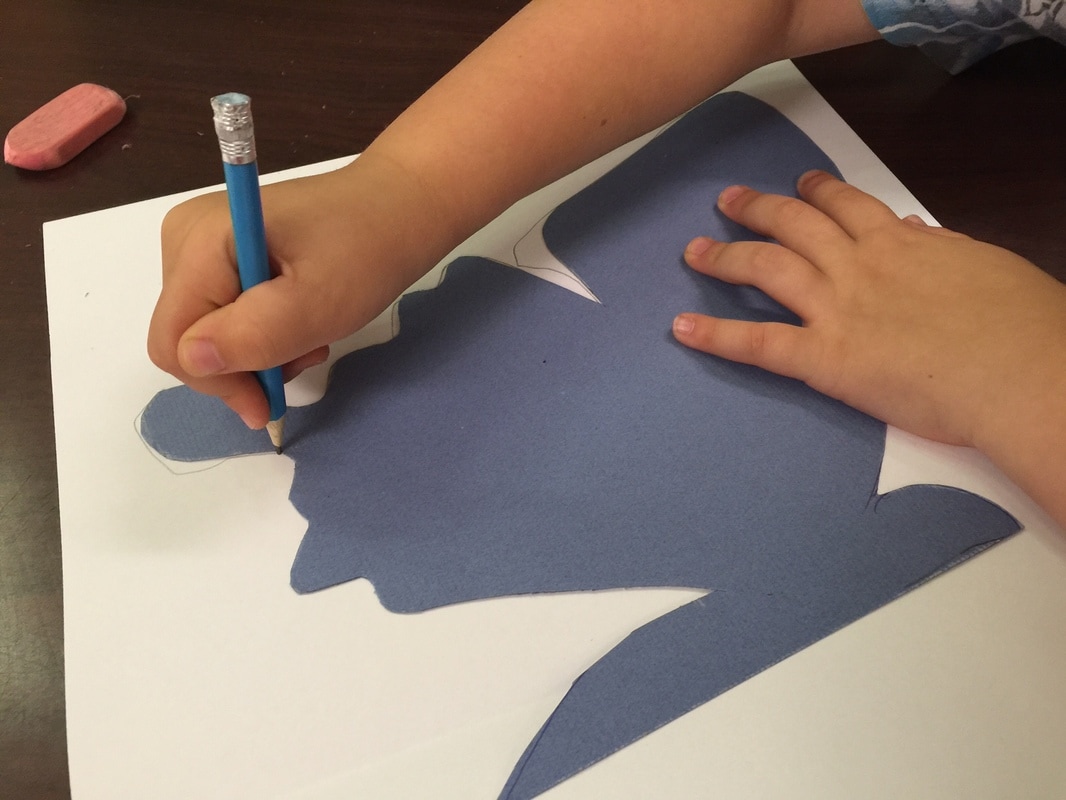 Next, students used pencils to sketch some simple shapes inside their butterfly's wings. Then came the messy part! Students traced over their pencil lines using liquid glue that I tinted black. This was a real challenge for most kindergartners- most of them had never dispensed glue from a bottle before, and learning to squeeze just the right amount is tricky!   After all the glue was applied, the next step was to fold the paper and rub gently to transfer the design to the other side. This is how we created symmetry!  Then students gently peeled the two sides apart to reveal the finished butterfly design!    When students returned the next week, it was time to paint! Each student chose two compatible colors to paint their butterfly.   And here are some of the finished butterflies! My plan is to keep these paintings over the summer, and then display them at the beginning of the new school year.           I did a formal drawing assessment with this year's kindergartners. The goal was to track their growth in drawing people. In the third week of school, I had each kindergarten student draw themselves. I didn't show any examples or give any instruction, since I wanted to see what each student could do on their own. I used the information from this drawing assessment to plan drawing lessons for the rest of the year. Several months later, I asked students to draw themselves again. They have certainly made a lot of progress! I was amazed by the extreme amounts of growth some students showed. It's incredible to see the two drawings side-by-side! Here are some examples- the first drawing was made in August, and the second was made by the same child at the end of March.              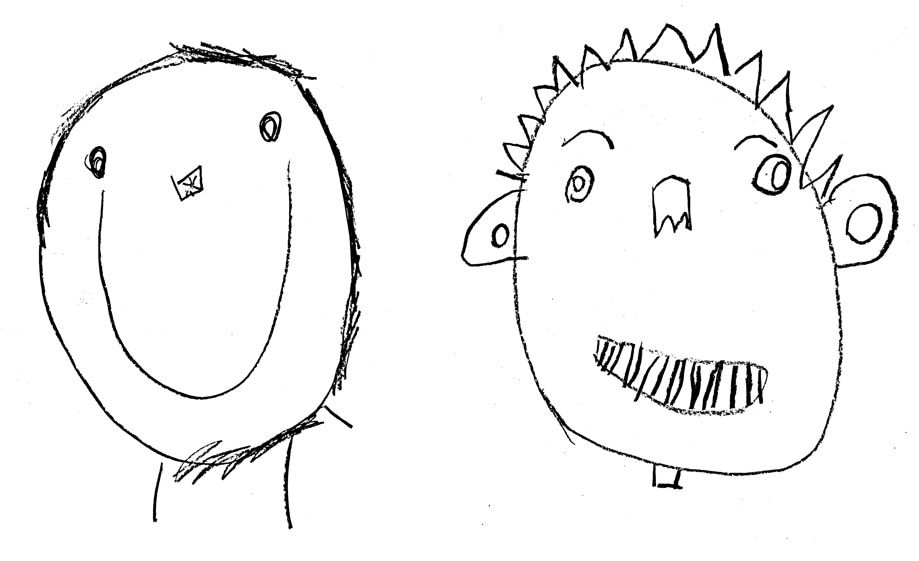             |
Archives
March 2018
Categories
All
|
 RSS Feed
