|
My younger students spent last week practicing drawing geometric forms. It teaches them to draw from observation- to notice the length of lines and the overlapping of shapes. It teaches them to draw what they actually see. We started by drawing cubes. It was interesting that in almost every class, a student told me, "But we already know how to draw cubes!" They meant this type of drawing:  I explained to them that this was a "math-style" cube. You draw it the same way, every time, without having to look at an actual cube. You are drawing it based on information from your BRAIN, rather than from your EYES. I asked each student to pick up one of the foam cubes and hold it in front of them at eye-level. Then we lifted them higher, and lower, and twisted them to the left and to the right. We observed how the lines and angles and shapes changed depending on how we looked at the cube. To start the drawing practice, I had students draw just the cubes to begin with. I set a timer for five minutes and asked them to draw the cube over and over until the timer stopped. It was not a race or a contest to see how many they could draw- instead, I wanted them to focus on drawing it more realistically and accurately each time. At the end, I asked the students to look back at their first cube and compare it to their last- most of them agreed, the more they drew it, the better they got!  a second grade example  a first grade example  a kindergarten example Next, students chose a variety of shapes and arranged them into an interesting composition. At the beginning of the week, I let each student pick from the whole tub of shapes, but as the week went on I made bags of shapes to save time, and just let them pick the color. 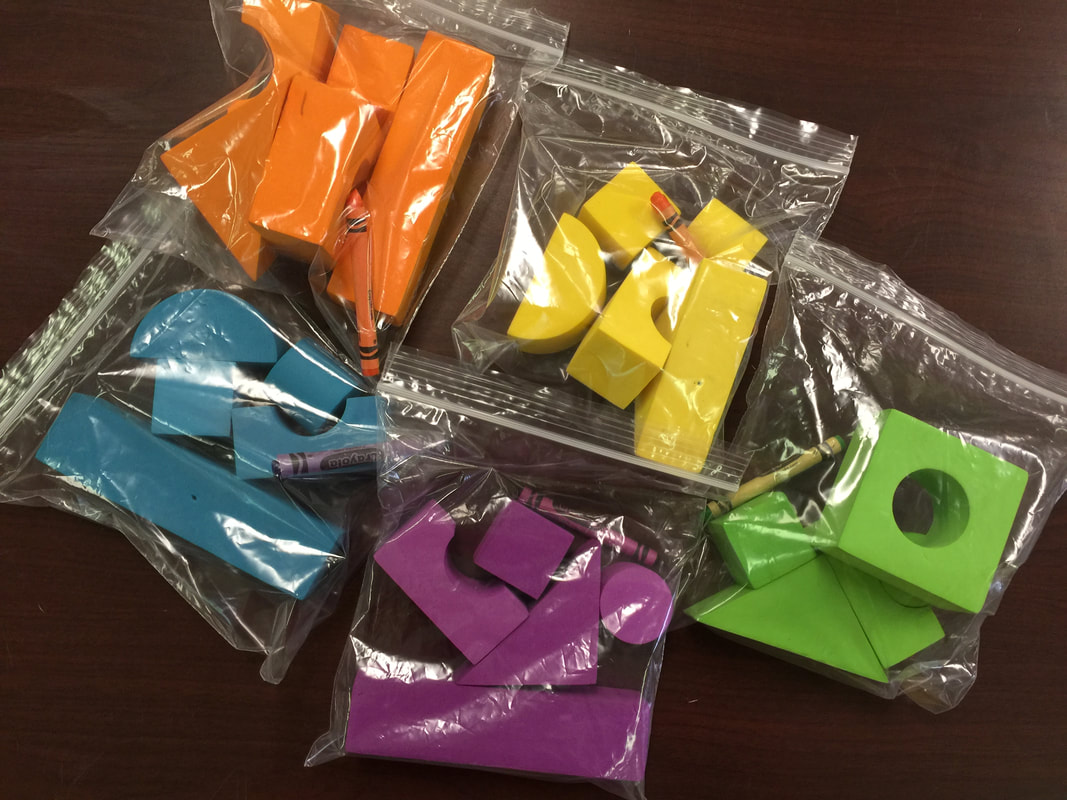  This drawing task was a challenge for kids- some of their brains were just not quite ready to grasp transferring a three-dimensional shape into a flat drawing. But some of them really got it! It was interesting to see the varying ability levels in each grade level. Some of the kindergarten students were more successful than some of the second graders! It just depends on how ready their brains were. But, it was a good exercise for all students. It helps them begin to look at objects like an artist. I tell them all the time, "You use your brain to make art just as much as you use your hands!" I worked very hard to keep it from being a frustrating lesson for the students who weren't quite ready. I made sure they each knew that I just wanted them to TRY this drawing, and that it was just practice and we wouldn't be hanging them up in the hallway.  second grade  first grade  first grade  kindergarten 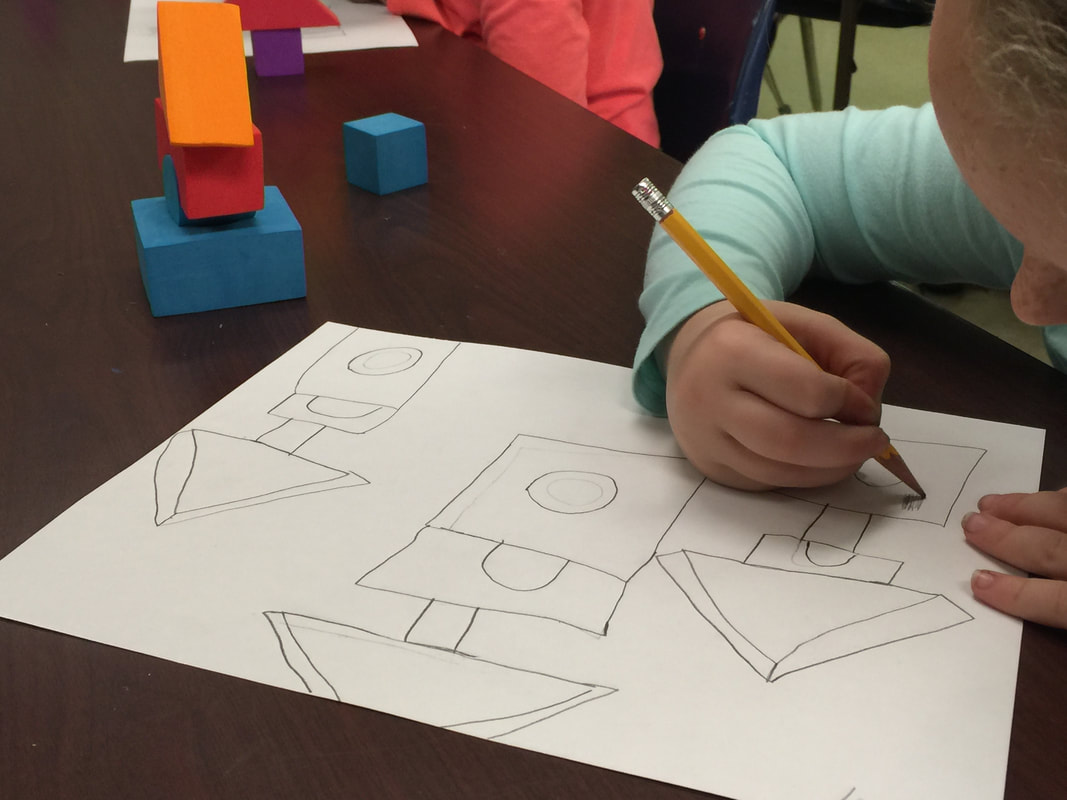 second grade  first grade  first grade  second grade The next step was to introduce kids to the concept of shading- showing the darks and lights, the highlights and shadows. Again, some kids were not quite ready to grasp this, but some did great!  first grade  kindergarten  first grade  kindergarten  second grade I am interested to see if this drawing practice makes a difference in the observational drawings we'll do in the future!
0 Comments
One of the things I like most about teaching art is using it to teach real-life skills. Art teaches kids how to make a plan and follow it, how to take a mistake and turn it into something good, how to be determined and see something through until the end... and lots of other good things! One real-life situation I wanted my kids to experience was having to work within a budget. Second graders are in the middle of an IB unit with economic themes- topics like good and services, and how supply and demand are related. To support this learning, I made my art students pretend to buy the supplies they wanted to use! But first, they had to earn some "money". During their last project, I passed out plastic gold coins as rewards for any good thing I saw students doing. They earned coins for things like staying on task, following directions the first time, and helping with clean-up procedures. I made sure everybody earned at least a few coins, and most students ended up with about ten. Several students had fifteen or more coins! At the end of that day, students turned their earned "money" back into me and I wrote down their total. We compared this to putting money in the bank- it's still your money, you're just letting someone else hold it.  This week, they got to "spend" their money at our pretend Art Supply Store. I gave each student back the number of coins that they had earned, and they could use them to purchase anything they wanted. I tried to offer some unusual or special items that they don't normally have access to- like glitter crayons, colorful paper, metallic markers, neon oil pastels, yarn, buttons, beads... along with the typical scissors, glue, markers, colored pencils, paint, etc. To make the math easy, each item cost one coin.   But first, I had students make a plan and write a shopping list. I had them write their total number of coins at the top, and then number that many lines down. They needed to think about the project they had in mind and carefully plan what they needed. I wanted them to avoid spending all their money on glitter crayons, only to realize they forgot to buy paper to draw on! It was important for them to think all the way through their project and predict all of their needs. This is a hard skill, but an important one!    Of course, students ran into some problems. In one situation, there was no more red paint left and a student really wanted some. She learned she could barter with another student who wanted her gold sharpie, and they made a trade! In a different situation, a student wanted yellow paper, but there was only one piece and another student had already claimed it. The student offered his classmate TWO coins and was able to buy it from him! I wanted these types of problems to occur, so that students could explore some problem-solving skills. Students had complete freedom over what they made, so there were some interesting creations! Here is some of their work:                This series of projects was designed as a way to reinforce geometry terms while exploring design concepts like balance and symmetry. The first project involved lines and angles. Students used rulers to draw several straight lines in a variety of directions. Then they added points and labeled lines, line segments, and rays. Next, students looked at the angles the lines created. They were given a color key and asked to color acute, obtuse, and right angles according to the key.   Project two was all about partitioning shapes evenly. One of the second-grade math standards is being able to divide circles, squares, and rectangles into halves and fourths. Pairs of students received three of each shape and divided them- one whole, one split in half, and one split in fourths. They learned that folding the shapes were a good way to make sure the parts were even. Students used the resulting pieces to create interesting compositions. Instead of gluing the pieces down, they photographed their completed compositions and then arranged the shapes into a new design!     This group made a robot.  This group designed a flower garden with orange clouds.  And this design is my favorite- a crying monster! Week 3's project allowed students to develop their observational drawing skills while reviewing three-dimensional forms. I gave each student a cube, a rectangular prism, and a cylinder. They were to observe each form's edges and faces and replicate them as closely as possible in their drawings. Many students went further and added the shadows and highlights.     Finally, the last project of this series was a review of polygons. Students used rulers and circle-tracers to create shapes. Then they had to count each shape's sides and determine what type of polygon it was in order to color it the assigned color. Shapes that were NOT polygons (ones with curved sides, created by the circle tracers) were colored black or gray.     One of the things I enjoy about teaching Art is that I get to support students' academic learning by integrating those concepts with opportunities for them to explore and create. This second-grade project is a good example of this integration. Students created a landscape of their choosing and used math concepts to guide their drawings. Each student received this checklist-  The kids could draw anything their imaginations could come up with- any kind of tree, any kind of building, any kind of weather... as long as they could answer these questions about their drawings. I was pleased to see some really creative ideas! We only worked on these drawings for two weeks, which was not really enough time to get them as finished as they could be. The kids will keep their work in their folders and can pull it out when they have a few free minutes.          This activity was a continuation of the color wheel fractions activity from last week. This time, students introduced black and white into their color-mixing "recipes". We discussed how adding these neutrals creates tints (colors with white), shades (colors with black), and tones (colors with gray). After blending the paints into new colors, students used fraction terminology to describe the proportions of each color they used. This was definitely an approximation rather than an exact science, but most students got the idea! They really had fun coming up with descriptive names for their color creations, and I was impressed with their enthusiasm!         I love teaching kids about color and the science behind it! It's one of my favorite things to teach, so I was excited when fourth graders started that part of their curriculum recently. They have been learning all about light- white light, how it can be divided into a spectrum of colors, and how objects either reflect or absorb light so that we can see that object's color! It's confusing for kids when they hear that all the colors of light blend to make WHITE, when I've been teaching them since kindergarten that all the colors of paint blend to make BLACK! With the help of this 5-minute clip from a Bill Nye episode, I hope they are beginning to understand. Now that they are learning about the color spectrum in science, it's a good time for us to talk about the color wheel in art. My students are already familiar with the color wheel- I teach them that it's a tool artists use to organize color. I start teaching it in Kindergarten, and tell them it's like a round rainbow. Now that fourth grade has the vocabulary word "spectrum" we can approach it a little more scientifically.  If you are unfamiliar with the color wheel, here's a one-minute introductory video. This is more information than I expect my kids to know, but it is a good overview of all the reasons artists need to understand how colors work together! The goal for today's activity was for students to mix colors to make their own complete color wheel, using just the three primary colors of red, blue, and yellow. I explained the color variances using fractions- green is half yellow and half blue, while yellow-green is 3/4 yellow and only 1/4 blue. This was all explained on this worksheet I made.  The dots in each circle represent spots of paint- each student was to use a q-tip to dot the correct color and amount of paint, then mix it all up to make the color! I told them it was kind of like following a recipe when cooking.    Here's an example of a completed color wheel.  The last step was for students to write some "color recipes" using fractions. This ties in very well with their current math focus.   They did a great job, and I hope this helped them better understand light, color, AND fractions!
|
Archives
March 2018
Categories
All
|
 RSS Feed
