|
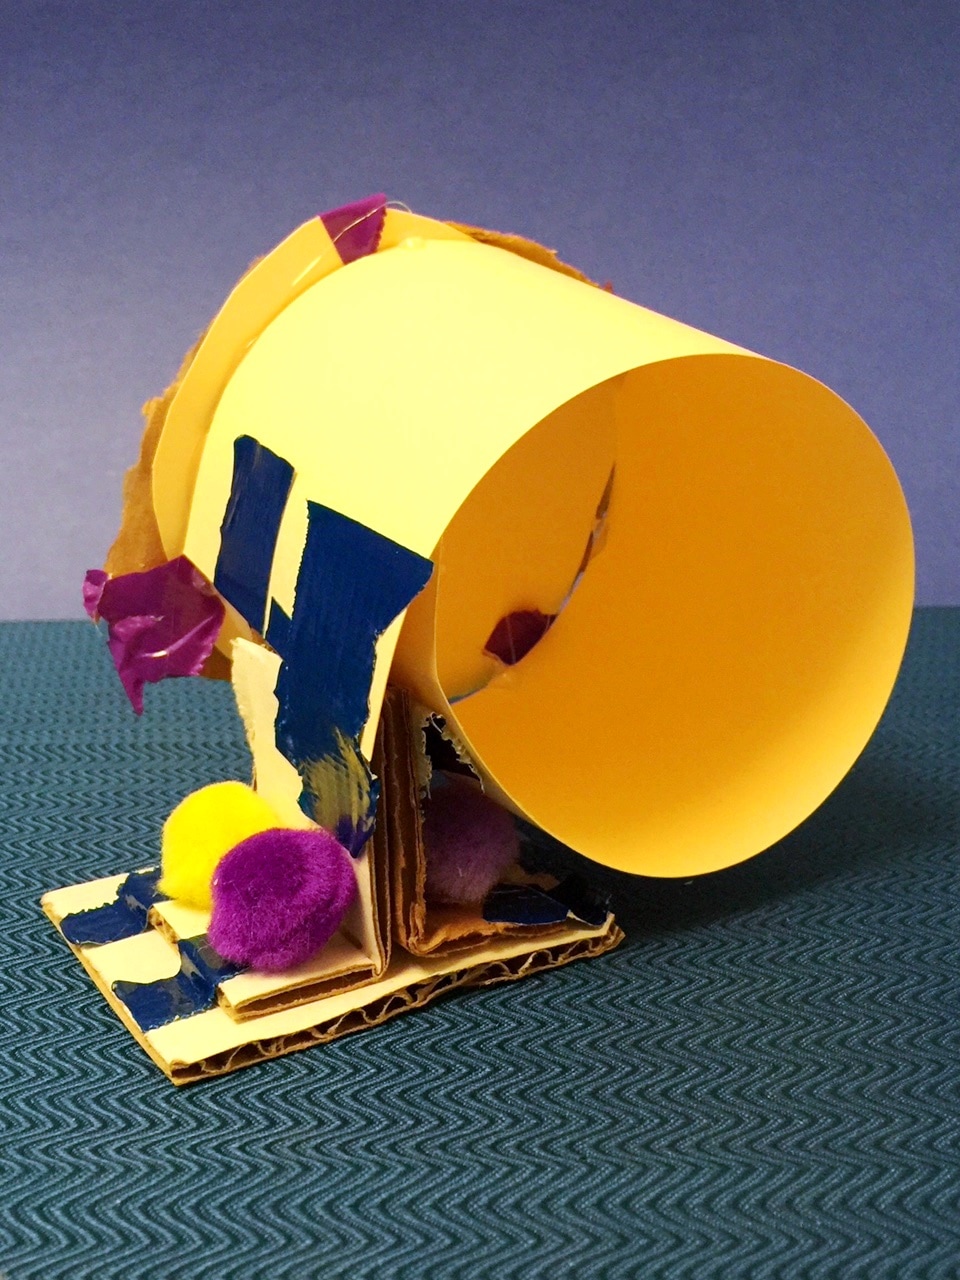
I absolutely LOVED this project, as did the students! We are very excited to share it with you. One of the most fun things about having fourth grade at our school this year has been that I get to explore a whole new set of projects with them. This project was designed to go along with their IB unit "Structures." The goal of our work was to experiment with the structure of a very common object- the chair. I used this video to introduce the idea to students- Just by watching this video, my kids started to get excited about the project. Our first day was spent sketching, planning, and dreaming- and some kids were dreaming BIG! We had plans for race-car chairs, rocket ship chairs, even a chair with a built-in smoothie maker!    Then it was time to get to work! Students spent the next three class sessions constructing their chairs. My job was to dispense the hot glue, so I did not get to circulate around the room like I normally would when students were working. But, this meant that students had to solve their own design problems without my input! I was so happy to see them taking ownership of their designs and really striving to make them successful! The requirements for the project were:
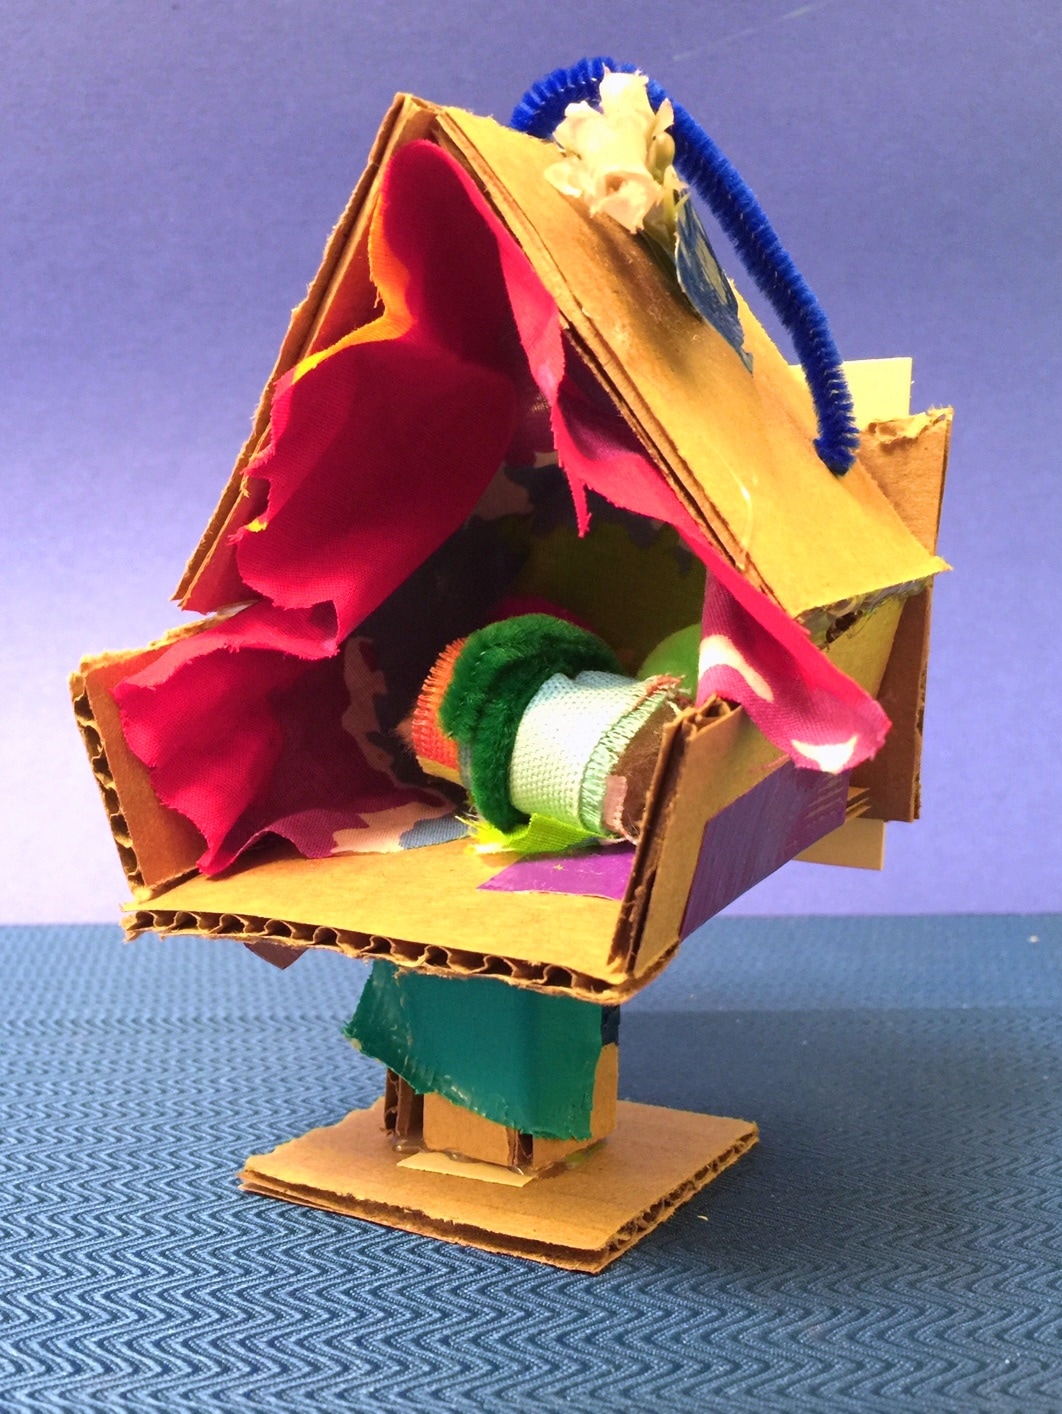
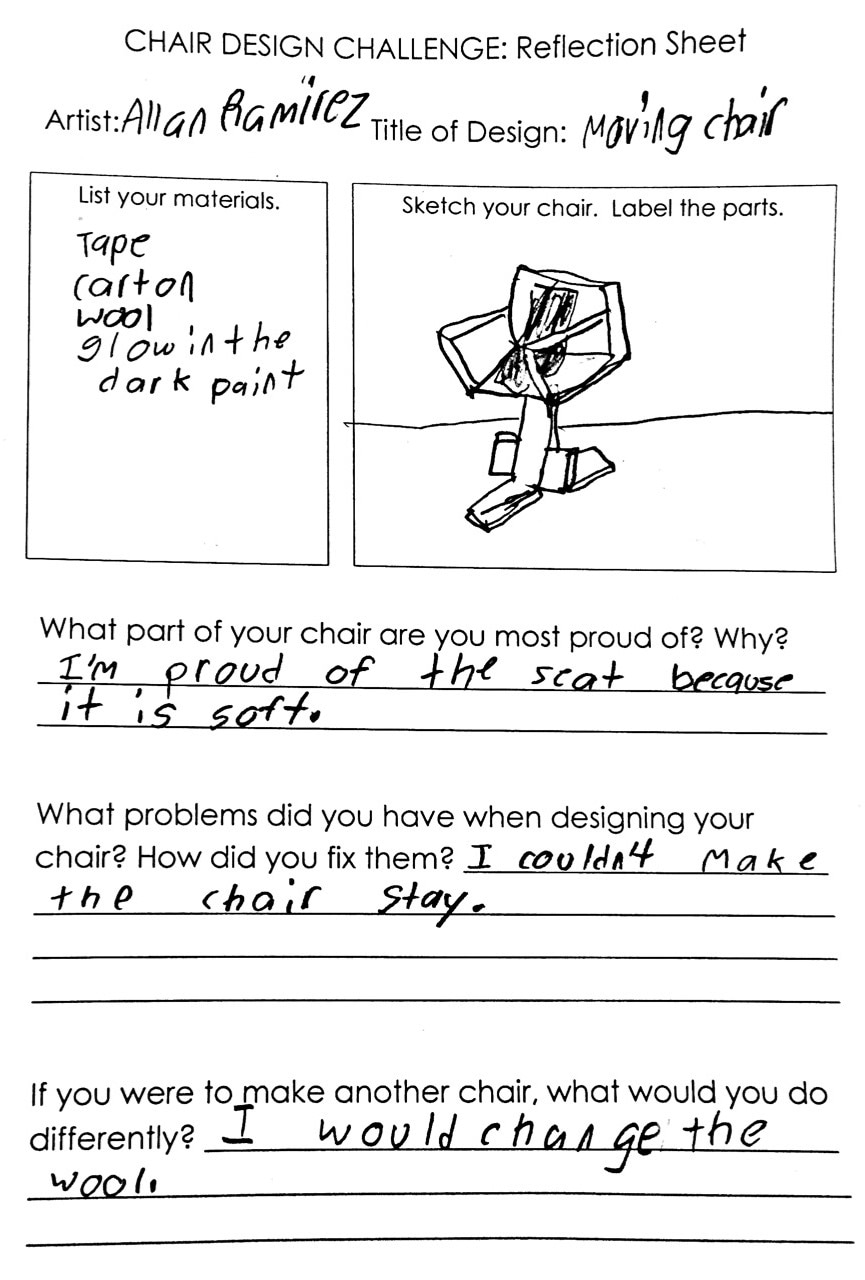
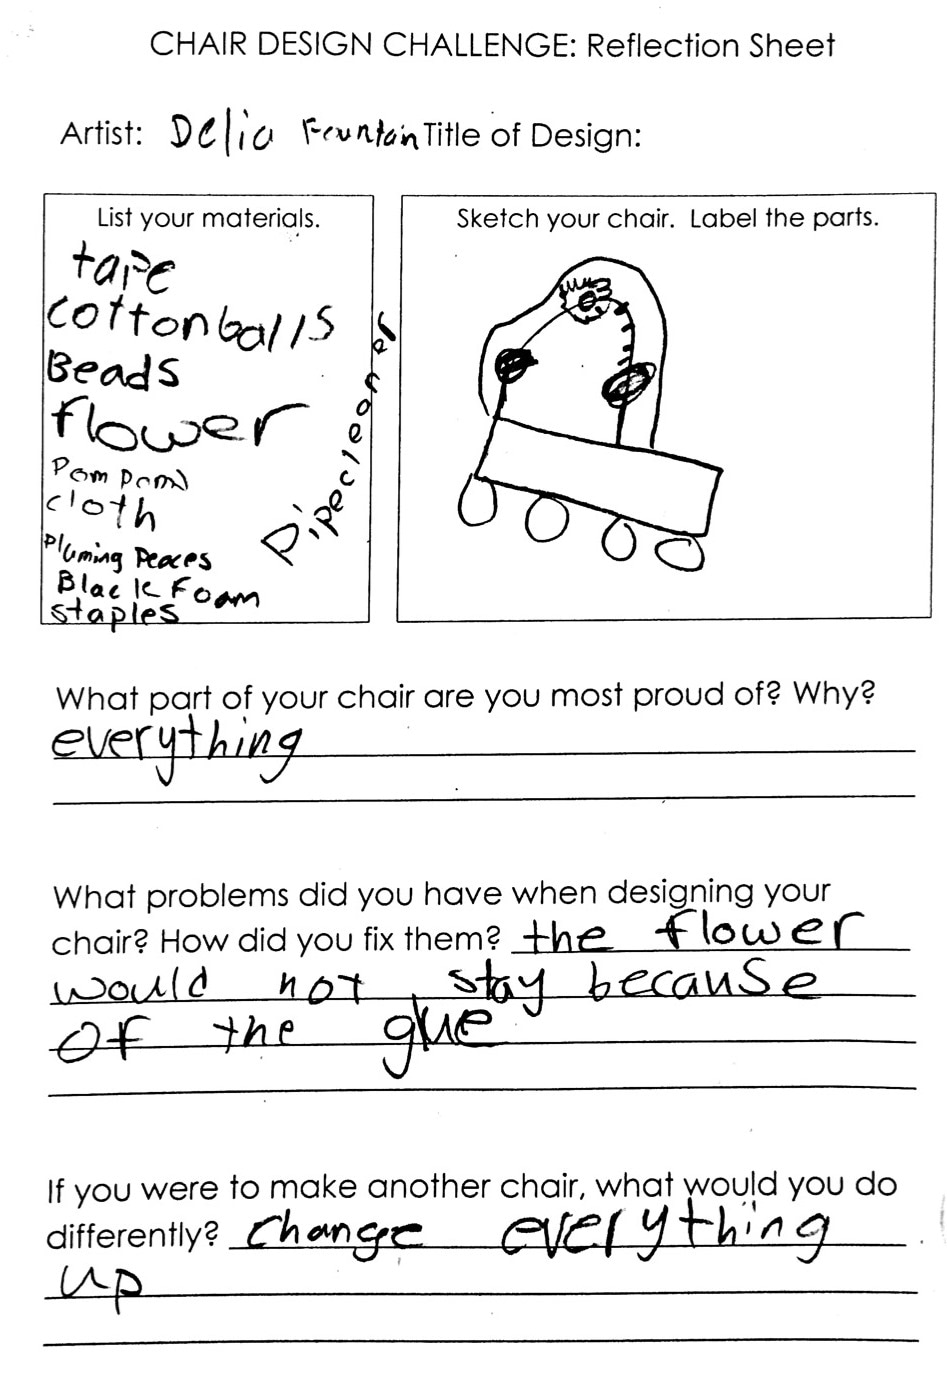
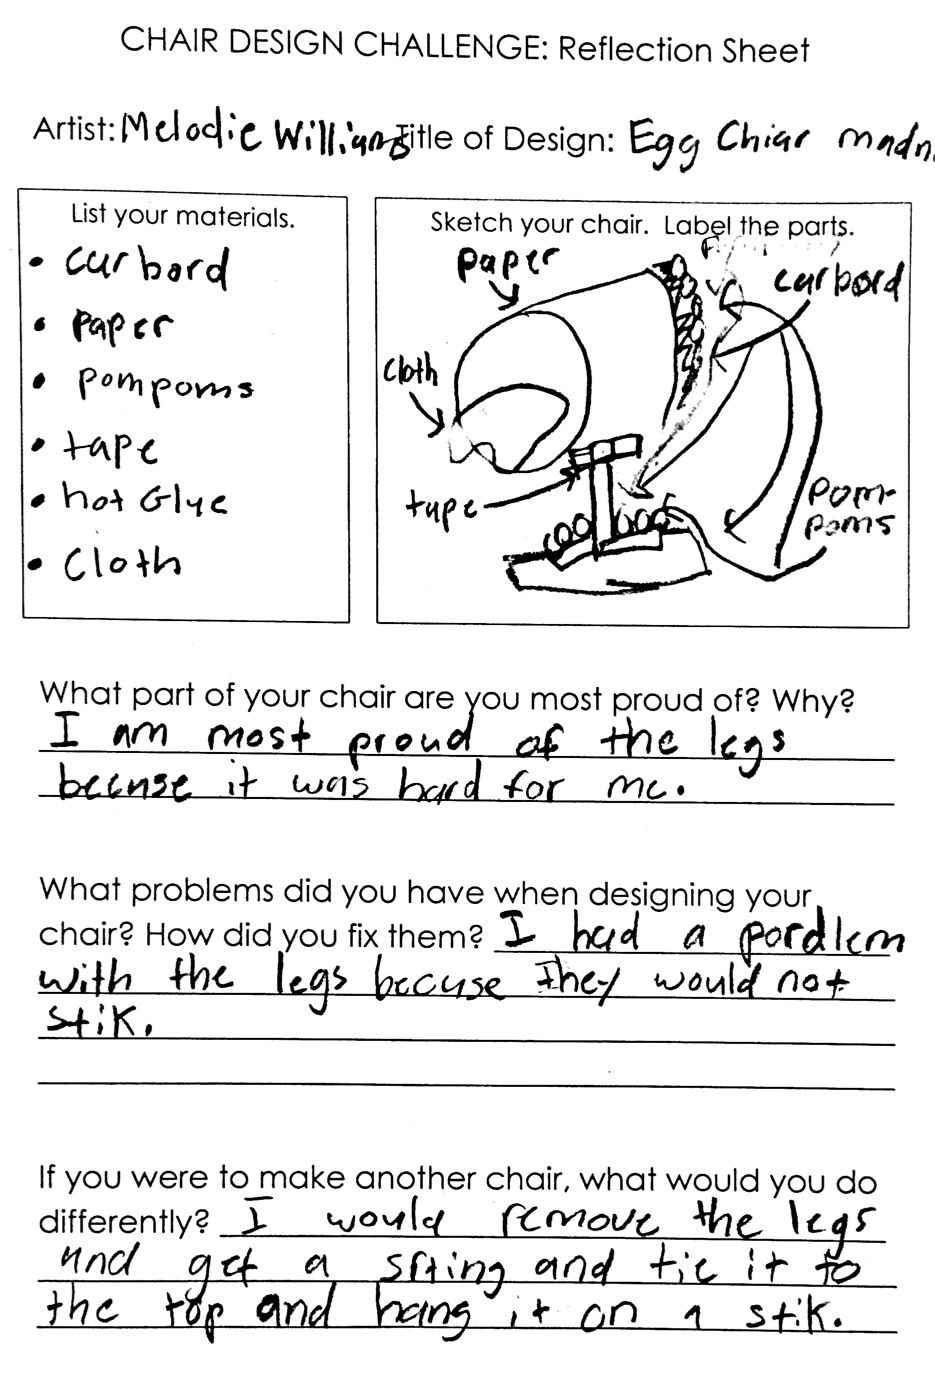
Our construction materials were anything and everything... odds and ends from the hardware store and the craft store, along with anything else I had in my storage cabinets. I did have some special requests for items like glitter and glow-in-the-dark paint, so I accommodated those requests the best I could! This video was another great inspiration- a professional furniture craftsman at work! I love how he tells his story, from starting out as a kid building skateboard ramps, and how he transitioned to the beautiful work he does today! He also does a great job explaining the importance of science and math for his craft. Here are some in-progress pictures.      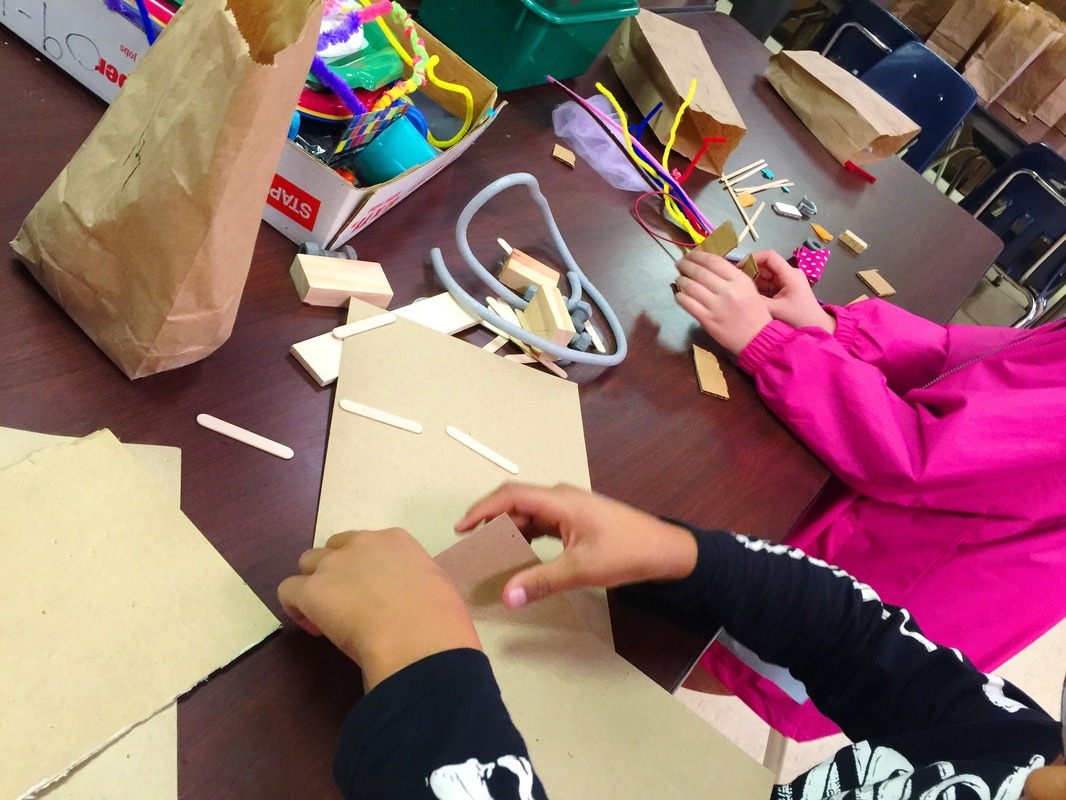   And here are a few of the finished designs! Each student also completed a reflection sheet about their creative process.
 This project will definitely be one we repeat each year!
0 Comments
This activity was a continuation of the color wheel fractions activity from last week. This time, students introduced black and white into their color-mixing "recipes". We discussed how adding these neutrals creates tints (colors with white), shades (colors with black), and tones (colors with gray). After blending the paints into new colors, students used fraction terminology to describe the proportions of each color they used. This was definitely an approximation rather than an exact science, but most students got the idea! They really had fun coming up with descriptive names for their color creations, and I was impressed with their enthusiasm!         I love teaching kids about color and the science behind it! It's one of my favorite things to teach, so I was excited when fourth graders started that part of their curriculum recently. They have been learning all about light- white light, how it can be divided into a spectrum of colors, and how objects either reflect or absorb light so that we can see that object's color! It's confusing for kids when they hear that all the colors of light blend to make WHITE, when I've been teaching them since kindergarten that all the colors of paint blend to make BLACK! With the help of this 5-minute clip from a Bill Nye episode, I hope they are beginning to understand. Now that they are learning about the color spectrum in science, it's a good time for us to talk about the color wheel in art. My students are already familiar with the color wheel- I teach them that it's a tool artists use to organize color. I start teaching it in Kindergarten, and tell them it's like a round rainbow. Now that fourth grade has the vocabulary word "spectrum" we can approach it a little more scientifically.  If you are unfamiliar with the color wheel, here's a one-minute introductory video. This is more information than I expect my kids to know, but it is a good overview of all the reasons artists need to understand how colors work together! The goal for today's activity was for students to mix colors to make their own complete color wheel, using just the three primary colors of red, blue, and yellow. I explained the color variances using fractions- green is half yellow and half blue, while yellow-green is 3/4 yellow and only 1/4 blue. This was all explained on this worksheet I made.  The dots in each circle represent spots of paint- each student was to use a q-tip to dot the correct color and amount of paint, then mix it all up to make the color! I told them it was kind of like following a recipe when cooking.    Here's an example of a completed color wheel.  The last step was for students to write some "color recipes" using fractions. This ties in very well with their current math focus.   They did a great job, and I hope this helped them better understand light, color, AND fractions!
Fourth grade artists took a trip back in time to experience how art-making would have been in the early years of our nation! They designed a house in the colonial architectural style and drew it using materials similar to what would have been used back then- a quill pen made from a feather!  The main characteristics of a colonial house are:
 We watched this video, which took us on a tour of a historic home in Philadelphia. Built in the 1750's, the Woodford Mansion is now a museum dedicated to preserving and showcasing life in the past. Students used a quill pen made from a real feather to make these drawings. They decided they were very grateful to live in a time when pencils and erasers are available- it was hard not being able to erase mistakes!    And here are some of the finished products!         To make the drawings look authentically aged, some students crumpled the edges and added stains. This step was optional- after working so hard on these drawings, some just couldn't stand to crumple them up! I hope this experience was memorable for students, and that it helped them be able to picture life in colonial America!    Fourth graders are finally ready to share the results of their latest project! This project ended up taking about seven weeks. That's about twice as long as we typically spend on a project, and that hard work has definitely paid off! Our inspiration for this artwork came from fourth grade's current study of patterns in weather and how different weather conditions affect the environment. The structure of this project is based on the designs of contemporary Israeli artist Yaacov Agam. Agam is a painter and sculptor whose work is kinetic, meaning it involves movement. He developed a new style of art that has come to be known as an agamograph. These agamographs are made of painted strips that appear to change depending on where the viewer is standing. Watch this video to see an example of one of his agamographs- do you see how the painting completely changes as the camera moves from one side to the other?! To make their own agamograph, students first had to decide what weather pattern they wanted to illustrate. (They could also choose day and night.) Next students created two separate artworks showing the exact same scene but with a change in the weather. We used a tracing technique to make sure the scenes were identical and would line up correctly when the agamograph was put together.  After their two scenes were finished, students had to assemble their agamographs. This process was really tricky and had a lot of opportunities for mistakes, but the students did great! I was so proud of the commitment and dedication students showed for this project- they showed an amazing amount of perseverance and were willing to work until the job was done right!  Here are just a few of the finished examples. I am SO impressed with the results!!  A rainstorm turning to a rainbow: by Sophie  A daytime and nighttime scene: by Sherlyn  A before-and-after of a tornado: by Meredith  Changing seasons: by Jordan  A storm that causes a flood: by Melvin * Here's where I got the idea for this project-- http://reliefteachingideas.com/concertina-fold-changing-pictures/ The fourth grade science curriculum has recently focused on the properties of light and how shadows are formed. To accompany that learning, we went outside in search of interesting-shaped shadows to turn into artwork! First students used markers to trace the shadows, and then used the traced designs as the start of abstract paintings.    Fourth grade artists have recently completed these paintings of our solar system. The main art concept of this project was to understand how light affects the way objects look and then to practice shading a sphere. This concept connects very well to the students' current studies of our solar system. They are learning how the sun's light on the planets as they rotate causes day and night; similarly, light shining on a sphere causes shadows and highlights. Be sure to notice the shading on these artworks- they turned out very impressive! The students will tell you that getting to splatter-paint the stars in the background was the best part!       Fourth grade students made these drawings of fruits and vegetables to practice their observational drawing skills. They were challenged to use shading, texture, and color blending to make their drawings look as accurate as possible. We used artificial food as our models. Their drawings are amazing!!  This week it was 4th grade's turn to experience making art in the style of the Native Americans. Their social studies curriculum is focusing on the culture and lifestyles of native people from all over America. This art-making experience was a great way to engage students' interests in the ways of life of the past. For most students, this was their first experience with any type of carving, and they LOVED getting to try it with something as unusual as soap!      |
Archives
March 2018
Categories
All
|


 RSS Feed
