|
Kindergarten artists have really focused on drawing themselves this year. Their self-portraits were the focus of K5's Art Show this past February. Up to this point, all of the self-portraits have been about how people look on the outside. But in this lesson, students explored making art to share what's on the inside! Kindergarten is beginning a brand-new IB unit about symbols and how they are used in our society. I asked students to think of symbols that represented themselves. Students spent the first day of this project drawing their favorite things- favorite colors, foods, movie characters, places to visit, sports teams, etc. They also drew symbols representing their favorite thing about school and what they wanted to be when they grew up. On day two of the project, students cut out each shape and glued them to an outline of a head that I provided. On the final day of work, students painted the remaining spaces of the head. We then cut out the finished paintings and mounted them to a background. 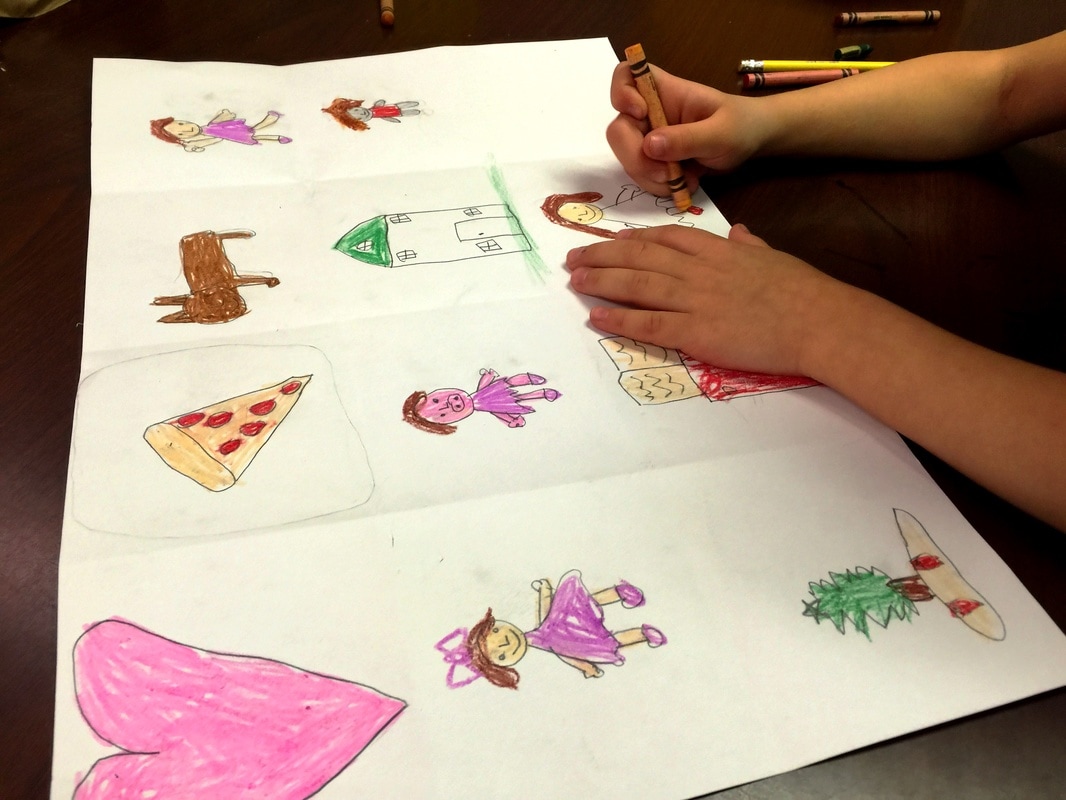      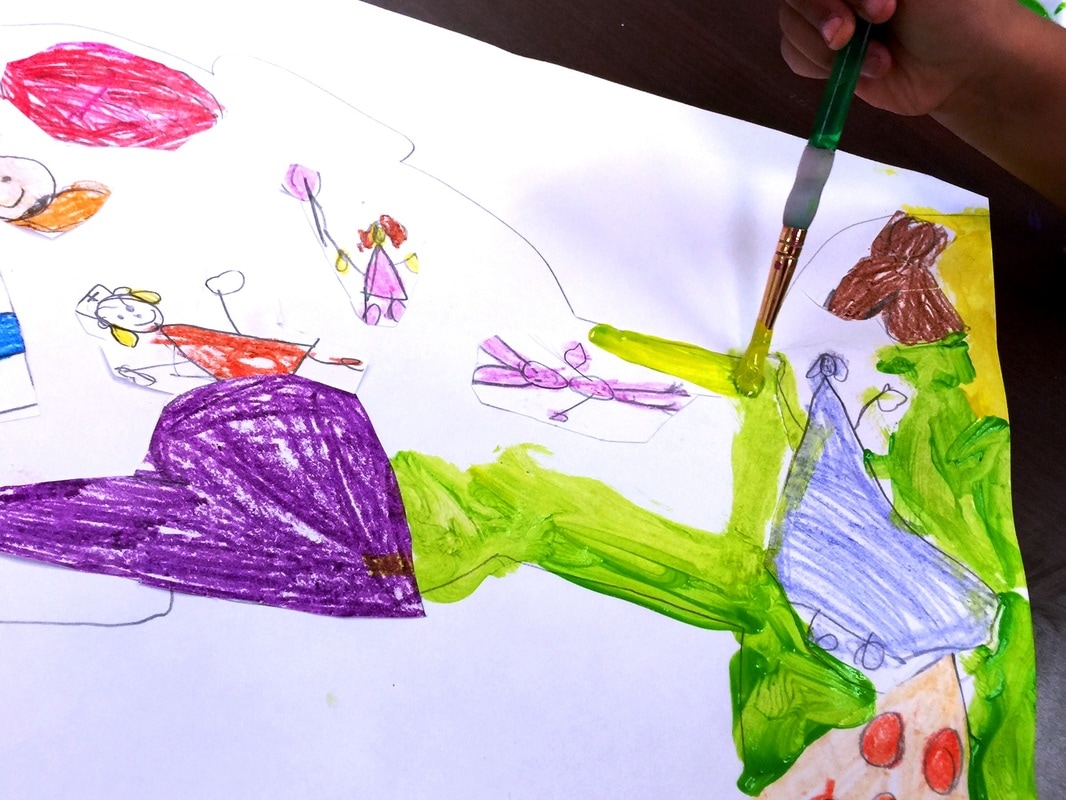     
0 Comments
This is the final week of first grade's "trip around the world"! It was been a really interesting experience, and I can tell the kids have learned a lot. They have been so excited to pretend to visit each new place! This week's focus was Jamaica. I did not know much about the culture of Jamaica before I began researching for this lesson. One of the things I found was that Jamaican culture is a combination of all the people groups that made up the island's population, and much of their traditions, food, language, and even artwork is a blend of these influences. This video gave us a good overview of what daily life might be like in Jamaica, and how their culture is both alike and different from America! One of the interesting things I learned about Jamaica was that back in the British Colonial times, in the time of new settlements and developing trade routes, Jamaica was a source of beautifully hand-crafted wooden furniture. Jamaica had an abundance of rich forests- the country was called "the land of wood and water". Jamaican people were able to harvest the wood and use it to create furniture, which became highly desired by British traders. Much of this furniture was carved, like this example of a Jamaican-made bed from the 1800's.  Other types of furniture were made in the caned style. Caning is a type of weaving which involves lacing reeds or thin strips of wood to a frame. It was common to see caned chairs, sofas, or tables. It is a very intricate and time-consuming process! Caning furniture is a traditional craft that is still evident in modern-day Jamaica.   First graders experienced a little bit of the weaving process by creating paper-weavings. We used the colors of the Jamaican flag, which are black, yellow, and green. The black in the flag symbolizes the strength of the people, the yellow represents sunlight, and the green is a symbol for the natural resources.    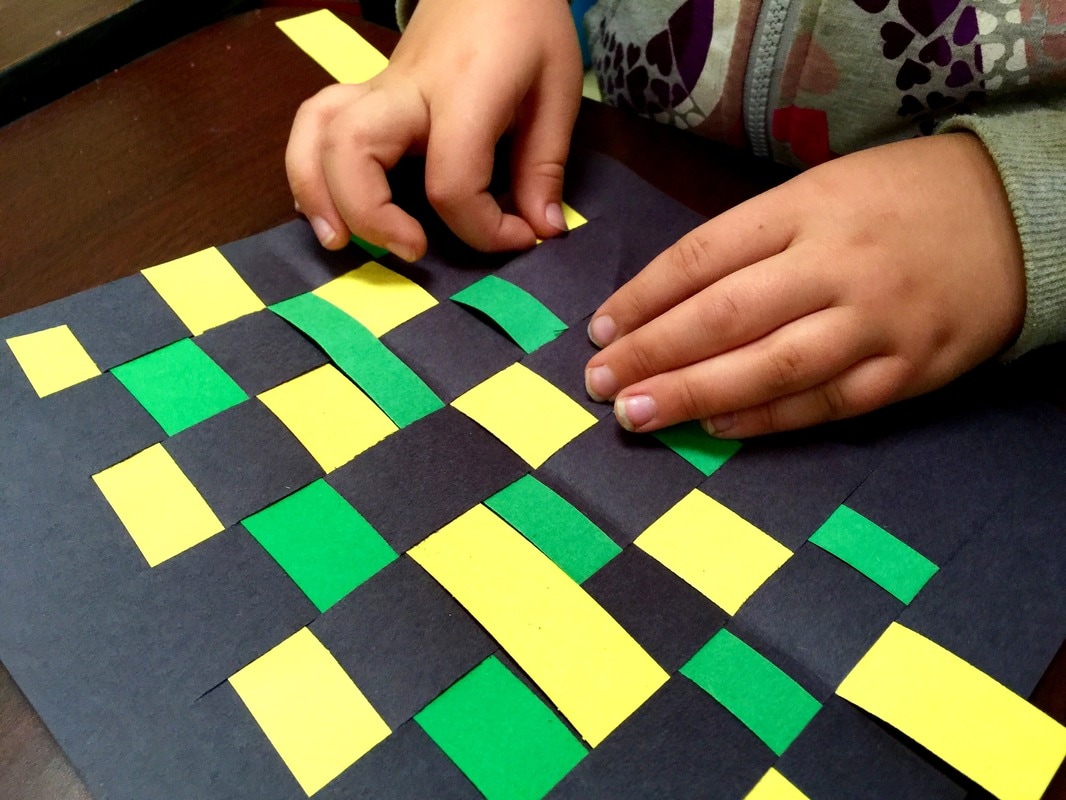    I am SO proud of my students for their hard work on these drawings. Their artwork is amazing! Each student chose one of our state symbols to illustrate. These were their choices:
I asked students to illustrate each symbol using the "zentangle" style of drawing. You can read more about our process in this previous post. Here are the results of about eight weeks of very focused work!                  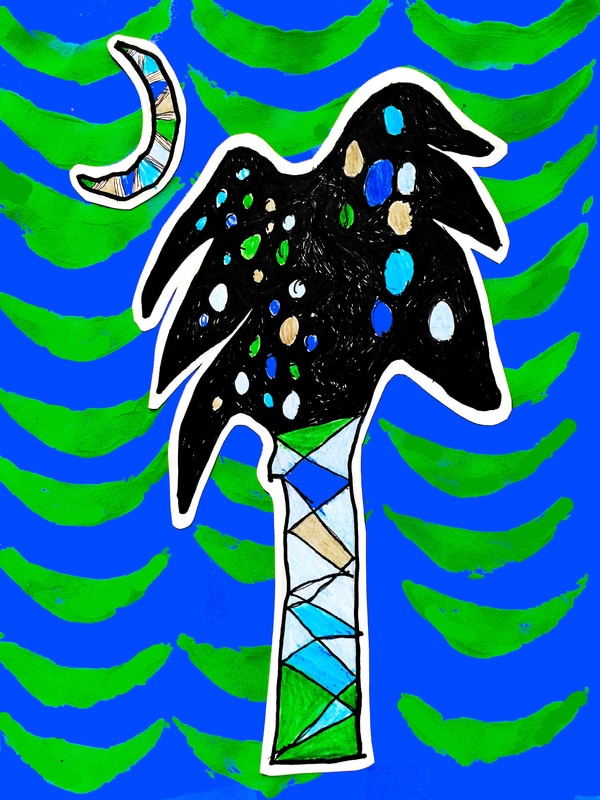           We took a trip to Italy this week. The kids were full of questions! I can tell they are developing their research and questioning skills, since they are asking really relevant questions. We talked about pasta, gelato, getting around on gondolas, the Leaning Tower of Pisa, and we learned how to say "ciao" and "grazie". We also talked a little about the artists of the Italian Renaissance- Leonardo, Michelangelo, Rafael, and Donatello! It is always so fun to teach kids that the Ninja Turtles were named after famous artists! What I wanted students to understand about Italy is that it is a very old country with lots of history. (We discussed this with our study of Egypt, too.) I wanted students to be familiar with modern-day Italy, but also to understand where their traditions come from. We learned that before Italy was a country, it was a civilization called Rome, and that life was very, very different back then! Our art experience this week was to create Ancient Roman Wax Tablets. In Roman times, paper hadn't been invented yet, so if someone wanted to write, they would use a wooden frame filled with hard wax, and they could carve letters into the wax. When finished, they could soften the wax and smooth it back out to use again. Some of these tablets have been discovered as ancient artifacts, and you can see them in museums. 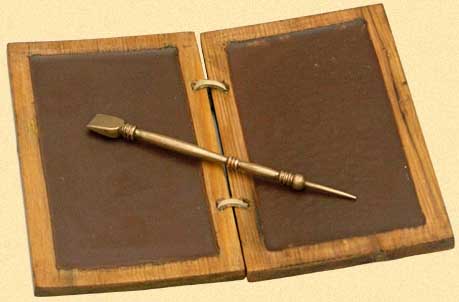 Students were fascinated to learn that the metal stick Romans used to carve the wax was called a stylus. They easily made the connection between the ancient tablets and our modern-day version, the iPad, and were excited to know where the word for the modern stylus originated! To make their own wax tablets, students folded a piece of thick cardstock in half. They drew a wood grain texture on the front, and filled the inside with rectangles of thick, dark crayon.   Next students used a plastic carving tool to scratch in whatever design they chose. Many students chose to write the letters of their names using ancient Latin letters and writing in reverse, as they did in ancient times.   This is Aidan's name written using the Latin alphabet, and written from right to left!
In this week's session, 1st graders learned about a tribe of people living in South Africa- the Ndebele. This group of people is known for the bold geometric designs painted on the outsides of their houses.  Students learned that the tradition of painted houses began as a way for people to communicate- each design had a specific meaning. Also, we learned that the women of the tribe are responsible for the painting, and the craft is passed down from mother to daughter. The society places a great deal of emphasis on the quality of the painting, and a women's success as a wife is judged by the exterior of her home. We enjoyed this video, which gives a glimpse into life in the Ndebele tribe and shows the beautifully crafted art. And here are some of our own Ndebele-style houses! Students began by drawing geometric designs and coloring them with the traditional colors of blue, red, yellow, green, brown, and black. Next we stapled them into a cylinder and glued the roof on top. If students had time, they could fringe the edges of the roof to resemble straw.    This week, 1st grade artists "visited" Egypt! What I wanted them to learn from this week's lesson was that Egypt is a very old civilization, and that while we can learn a lot about its history, we can also find common ground with the country today. We started our lesson with this super-cute video full of interesting facts: One of the main points I wanted my kids to learn from the video was the huge change that the development of farming brought to the early Egyptians- since they no longer had to spend all their time gathering food, and could grow it instead, the people now had time to make art!! Though there are TONS of examples of Egyptian art, we focused our study on jewelry. Students learned that the early Egyptians placed a great deal of value on jewelry, even going so far as to bury people with it! They also believed that different types of precious gems would bring healing or prosperity- sort of like a good-luck charm. Students then made their very own Egyptian bracelet from cardstock, ribbon, gold paint, and plastic gems. They were so proud to wear their creations!  We actually completed this project before Christmas, but I didn't have a chance to post any finished work. This lesson coincided with kindergarten's study of communities. In Art, their task was to create a collage of a community building. This activity was full of great skill-building practice, like cutting, gluing, and using lots of details! 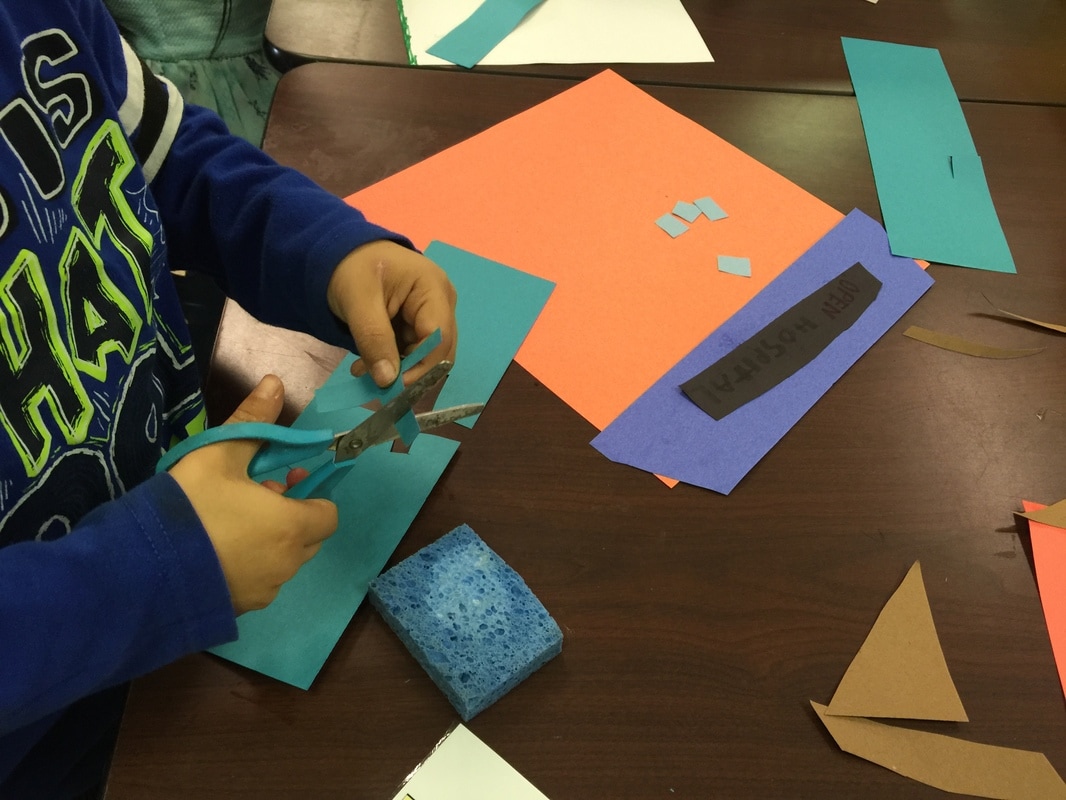       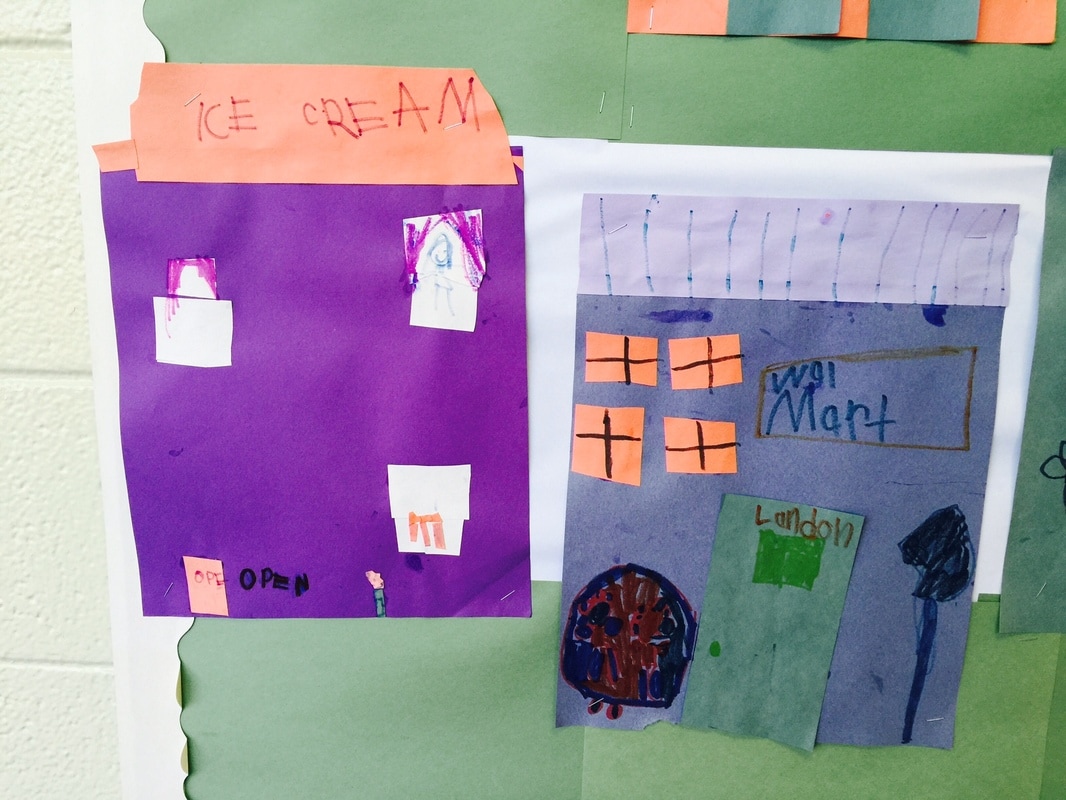    Third grade students have been working extremely hard on their current project. When I designed this project for them, I never imagined they would be as enthusiastic about it as they are! It is an incredibly time-consuming project and challenges their fine-motor skills, and they are amazing me with their commitment and effort. We are making zentangles! Zentangle is a term used for a doodling technique with a focus on intricate patterns. The process of creating a zentangle is meant to be very meditative. It helps increase focus and creative thinking. It is also very fun and relaxing! I am so pleased that my kids have enjoyed the process so much. Our zentangles are based on South Carolina symbols- our state tree, state bird, state flower, etc. More information about this project will be coming after our Art Show on March 23rd! Here are some in-progress photos. 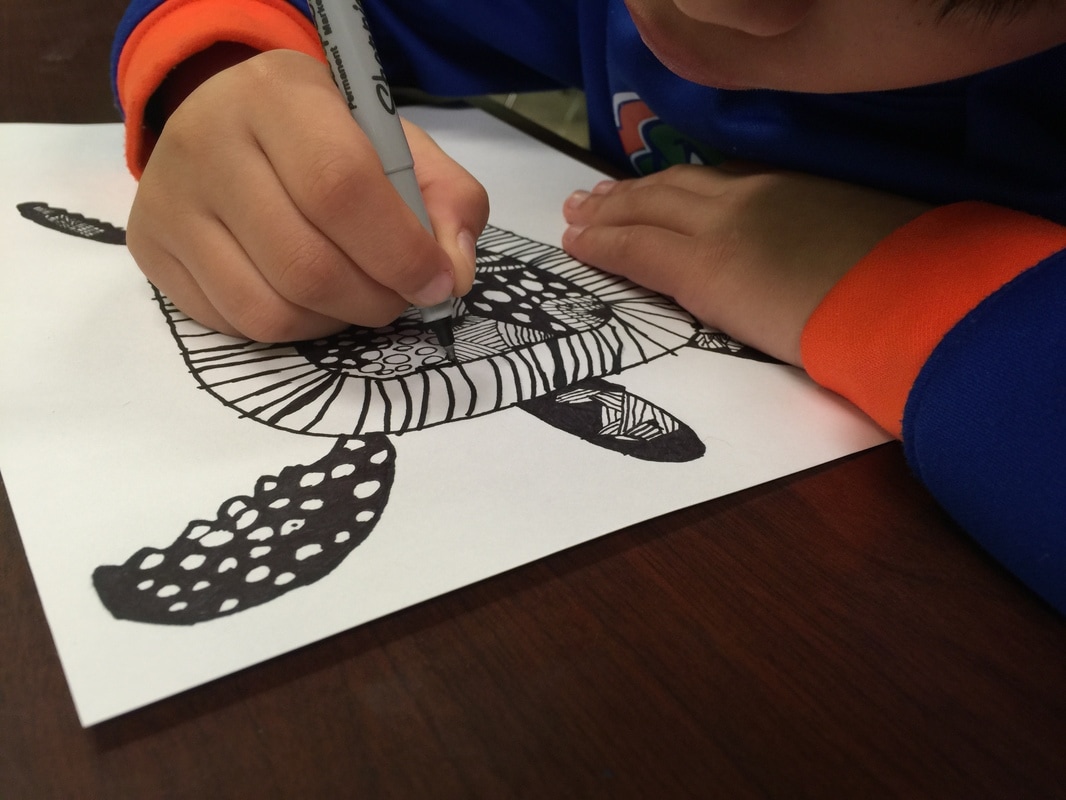     I have been looking forward to this group of projects all year! Each spring, 1st grade teachers begin an IB unit called "We Are the World." The goal of the unit is for students to compare and contrast ways of life all over the world. Many of our students have not done much traveling, so this is a good way to show the kids that although there are many differences in the way people look, speak, dress, and live, we are all part of the same human race and we have A LOT in common! One of the things that different societies have in common is that they all make some form of art! In some cultures, the art tends to be functional, like weaving baskets for harvesting fruit, or making pottery to carry water. In other cultures, art may be used for celebrations or religious ceremonies. Some art is made to record legends or traditions. Many forms of art have been passed down for centuries, while others have developed in more recent times. In our art room, students will experience art-making traditions from a different culture each week for the duration of this IB unit. This year, students will explore art from six different societies- Japan, Egypt, South Africa, Italy, Jamaica, and Alaska. Week One: The Art of Japan- ShiboriShibori is a method of dying cloth that has been part of Japanese culture for thousands of years- since the 8th century! It involves wrapping cloth very tightly with string and then dipping the cloth into the dye. The string keeps some of the cloth from absorbing the color. (This concept is where tie-dye originated!) Japanese artisans wrap and tie the cloth very carefully to make a variety of intricate patterns.  Here is a video of the process in action- We made our own version of shibori with paper towels, string, and blue watercolor paint. Step 1: Fold the paper towel in a fan-fold (pleated) style. Step 2: Roll up the folded towel into a spiral. (We pretended we were rolling sushi!) Step 3: Wrap a string tightly around the roll. The tighter the string, the more interesting the pattern will be! Step 4: Drip blue watercolor paint onto each end of the spiral. The trick is to get enough liquid to cover the surface, but not to use so much that all the white space disappears! Step 5: Carefully unroll the folded paper to reveal the pattern!      The finished shibori cloths got a little card stapled to them- this is to help inform parents about the traditions behind the project, since students may not remember all the information by the time they get home!  With the few extra minutes we had remaining, we enjoyed watching this video of children sharing some information about the Japanese culture. Some classes even had time to learn the names of the colors in Japanese! Next week: We'll be "visiting" Egypt! Fourth grade artists took a trip back in time to experience how art-making would have been in the early years of our nation! They designed a house in the colonial architectural style and drew it using materials similar to what would have been used back then- a quill pen made from a feather!  The main characteristics of a colonial house are:
 We watched this video, which took us on a tour of a historic home in Philadelphia. Built in the 1750's, the Woodford Mansion is now a museum dedicated to preserving and showcasing life in the past. Students used a quill pen made from a real feather to make these drawings. They decided they were very grateful to live in a time when pencils and erasers are available- it was hard not being able to erase mistakes!    And here are some of the finished products!         To make the drawings look authentically aged, some students crumpled the edges and added stains. This step was optional- after working so hard on these drawings, some just couldn't stand to crumple them up! I hope this experience was memorable for students, and that it helped them be able to picture life in colonial America!    |
Archives
March 2018
Categories
All
|
 RSS Feed
